Hello, Crafters! I hope you had a wonderful holiday season and are ready to get back into crafting! This month, we're making quilted bookmarks. These can be hand sewn or done on a sewing machine. I will show you two different methods.
Included in your kit:
fabric
batting
ribbon
Not included in your kit:
scissors
sewing machine (if desired)
I got the idea from these cute bookmarks I found on Pinterest:

Instructions (Method One) - This method uses pinking shears (or rotary blade). If you don't have those, move on to method two.
1. Cut two pieces of fabric approximately 3"x8".

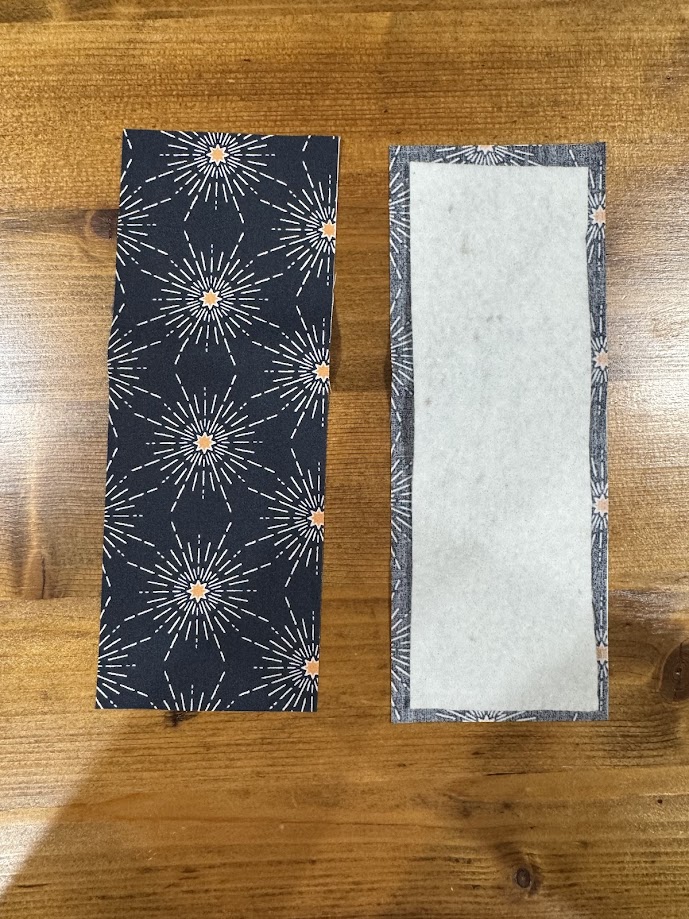
2. Trim the piece of batting about a quarter of an inch smaller than the fabric pieces.

3. Make sandwich with the fabric and batting with right sides of the fabric facing outward.

4. Insert the ribbon into the sandwich with the cut edges inside (making a loop at the top). Quilt or hand sew all the pieces together making sure to secure the ribbon as well. You can use any design you want or make it up as you go like I did. (The ribbon isn't in this picture because I goofed and had to go back and add it later).

5. Lastly, use your pinking shears or pinking rotary cutter to trim all the outside edges to prevent fraying of the fabric.

Instructions: Method Two
Cut two pieces of fabric approximately 3"x8".

Cut the batting slightly smaller than the fabric pieces.
Lay the batting on the wrong side of one of the pieces of fabric. Quilt or hand sew those two pieces together. Use any design you want or make it up as you go like I did.

Next, put the right sides of the fabric together and sew around the outside edges leaving an opening at the top.


Turn your bookmark inside out using the opening at the top. Fold the top fabric pieces inward and insert the ribbon (cut edges inside the bookmark making a loop at the top. I realize this is different than what's in the picture). Sew across the top closing the opening and securing the ribbon inside. I used a zig zag stitch just to make sure the ribbon is secured.

That's it!


Add a comment to: Beavercreek Adult Take-and-Make: Quilted Bookmark