Hi Crafters!
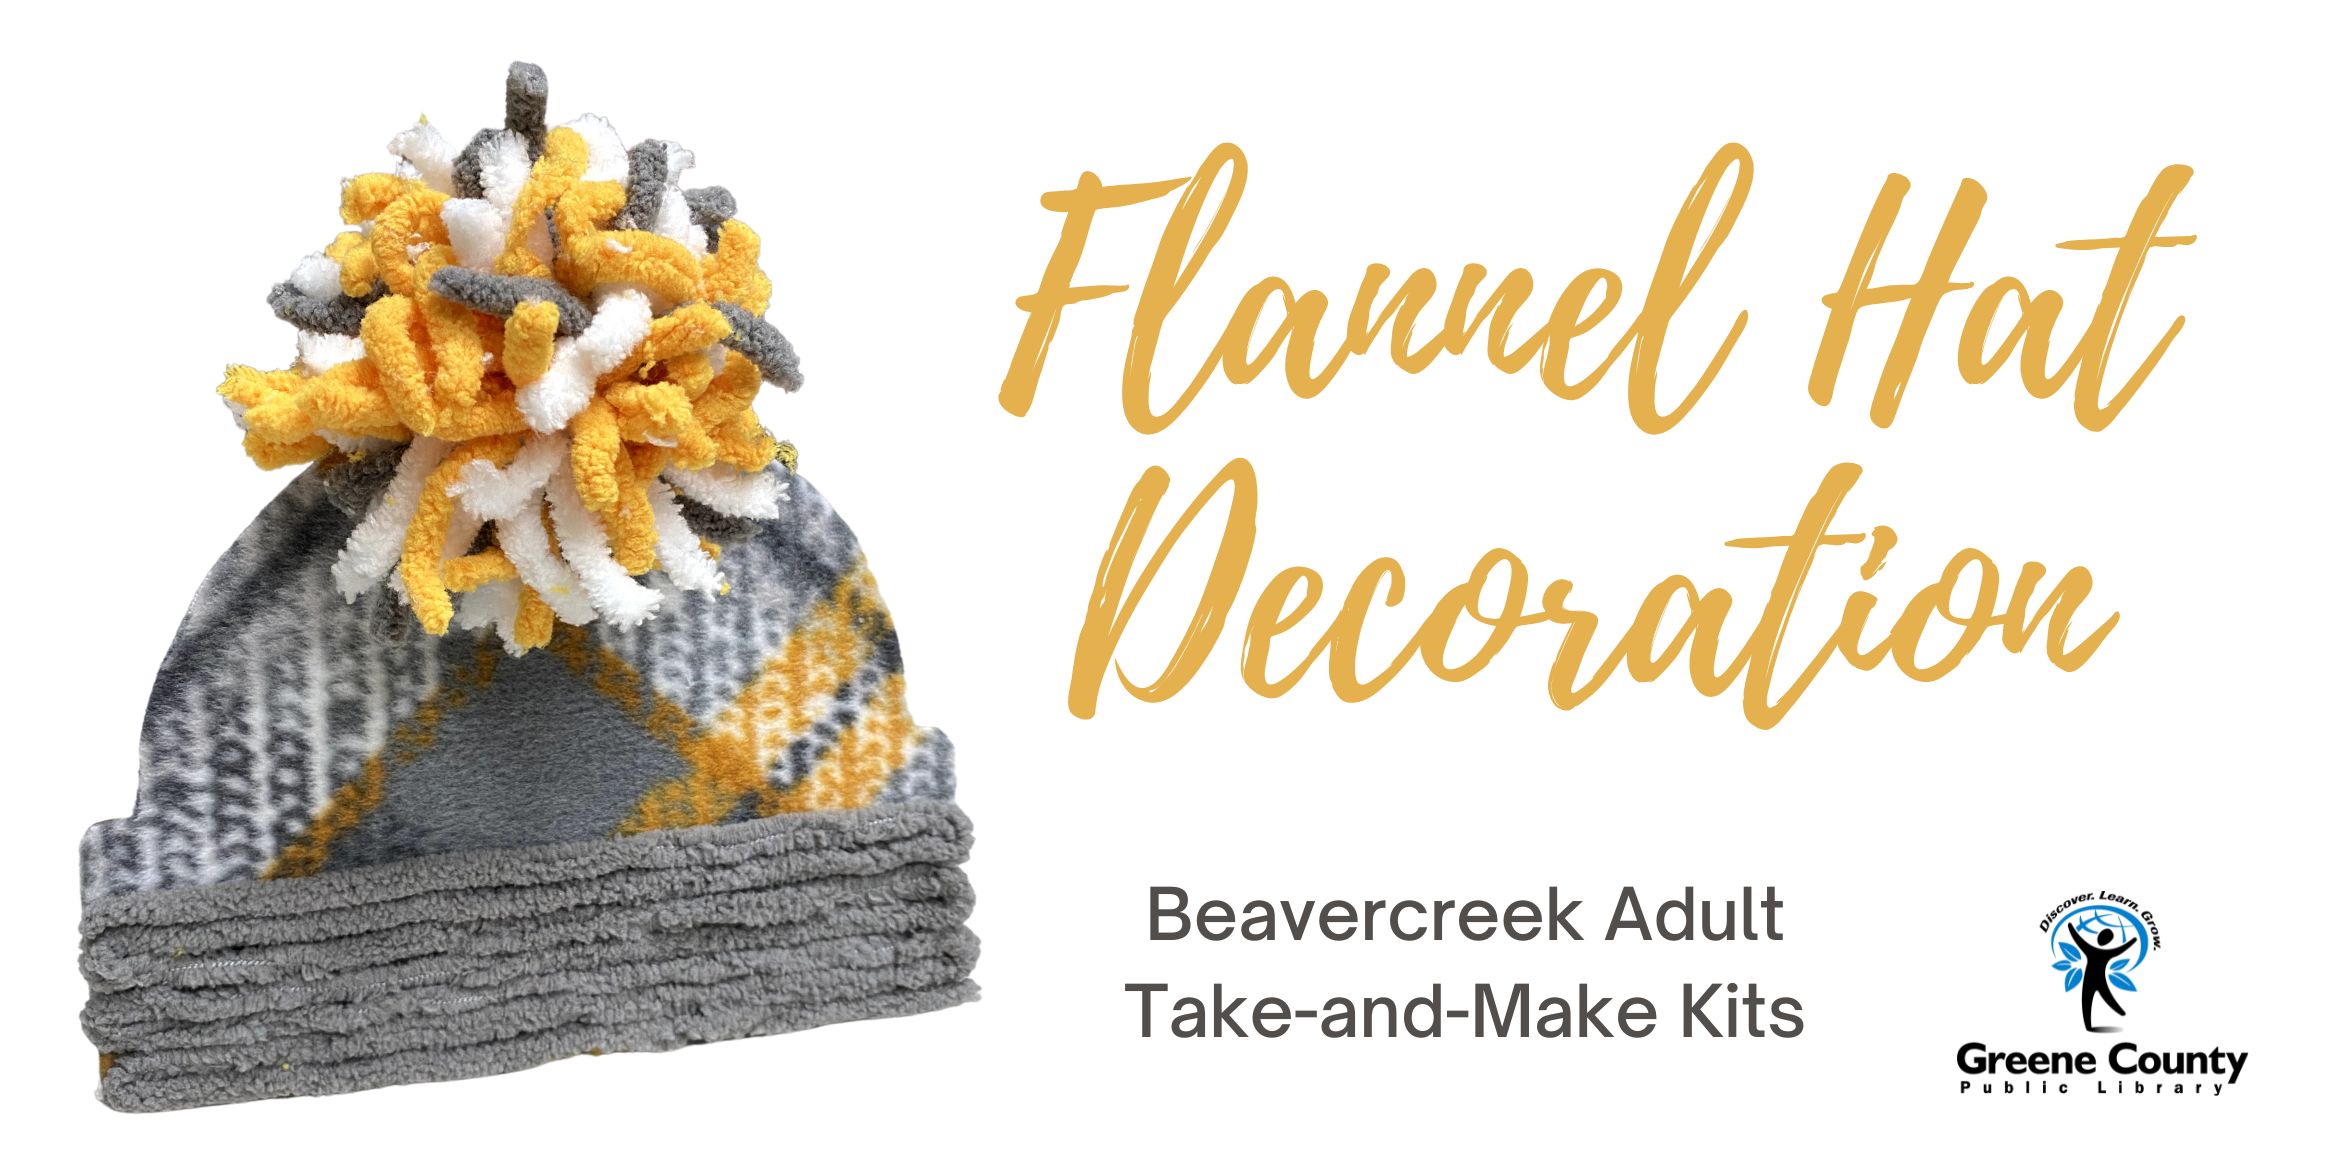
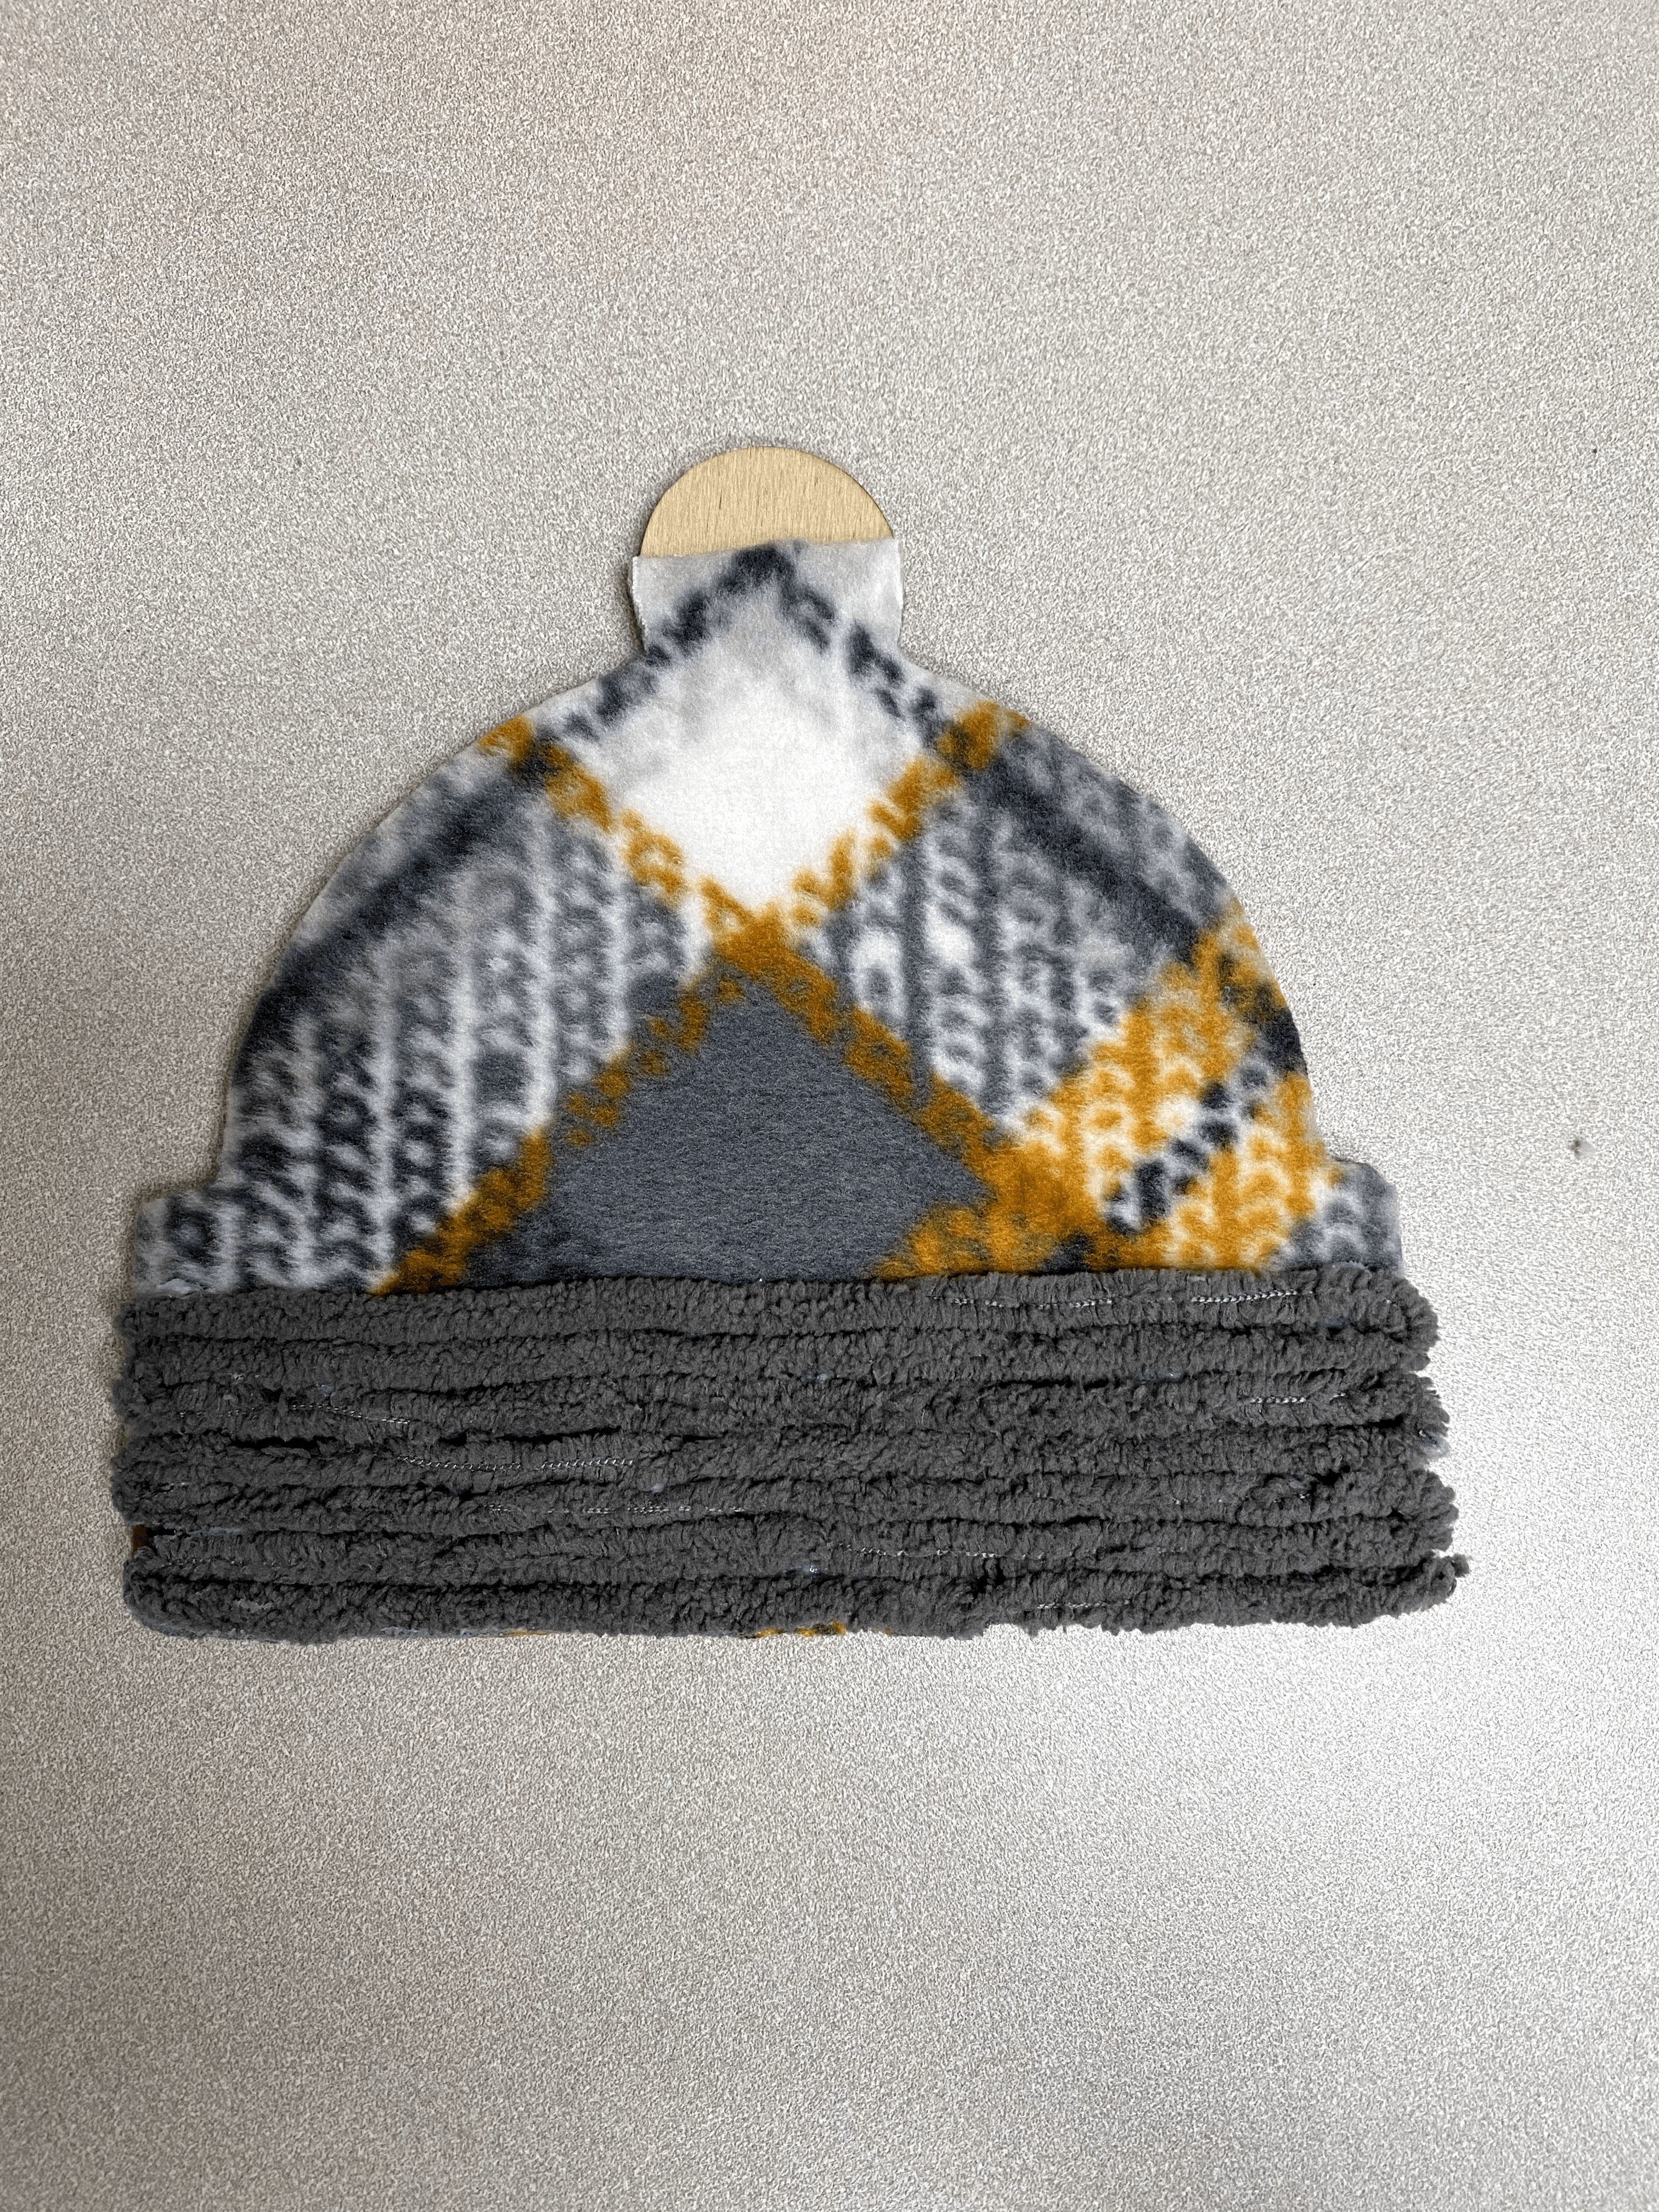
This month's craft is to make this winter hat decoration using a wooden cutout, yarn and flannel.
Click here to reserve your kit: https://greenelibrary.bibliocommons.com/events/63bc4a73003cbbe333123552
Included in your kit:
1 Wooden hat cutout
1 Piece of flannel
Yarn for band and ball of hat
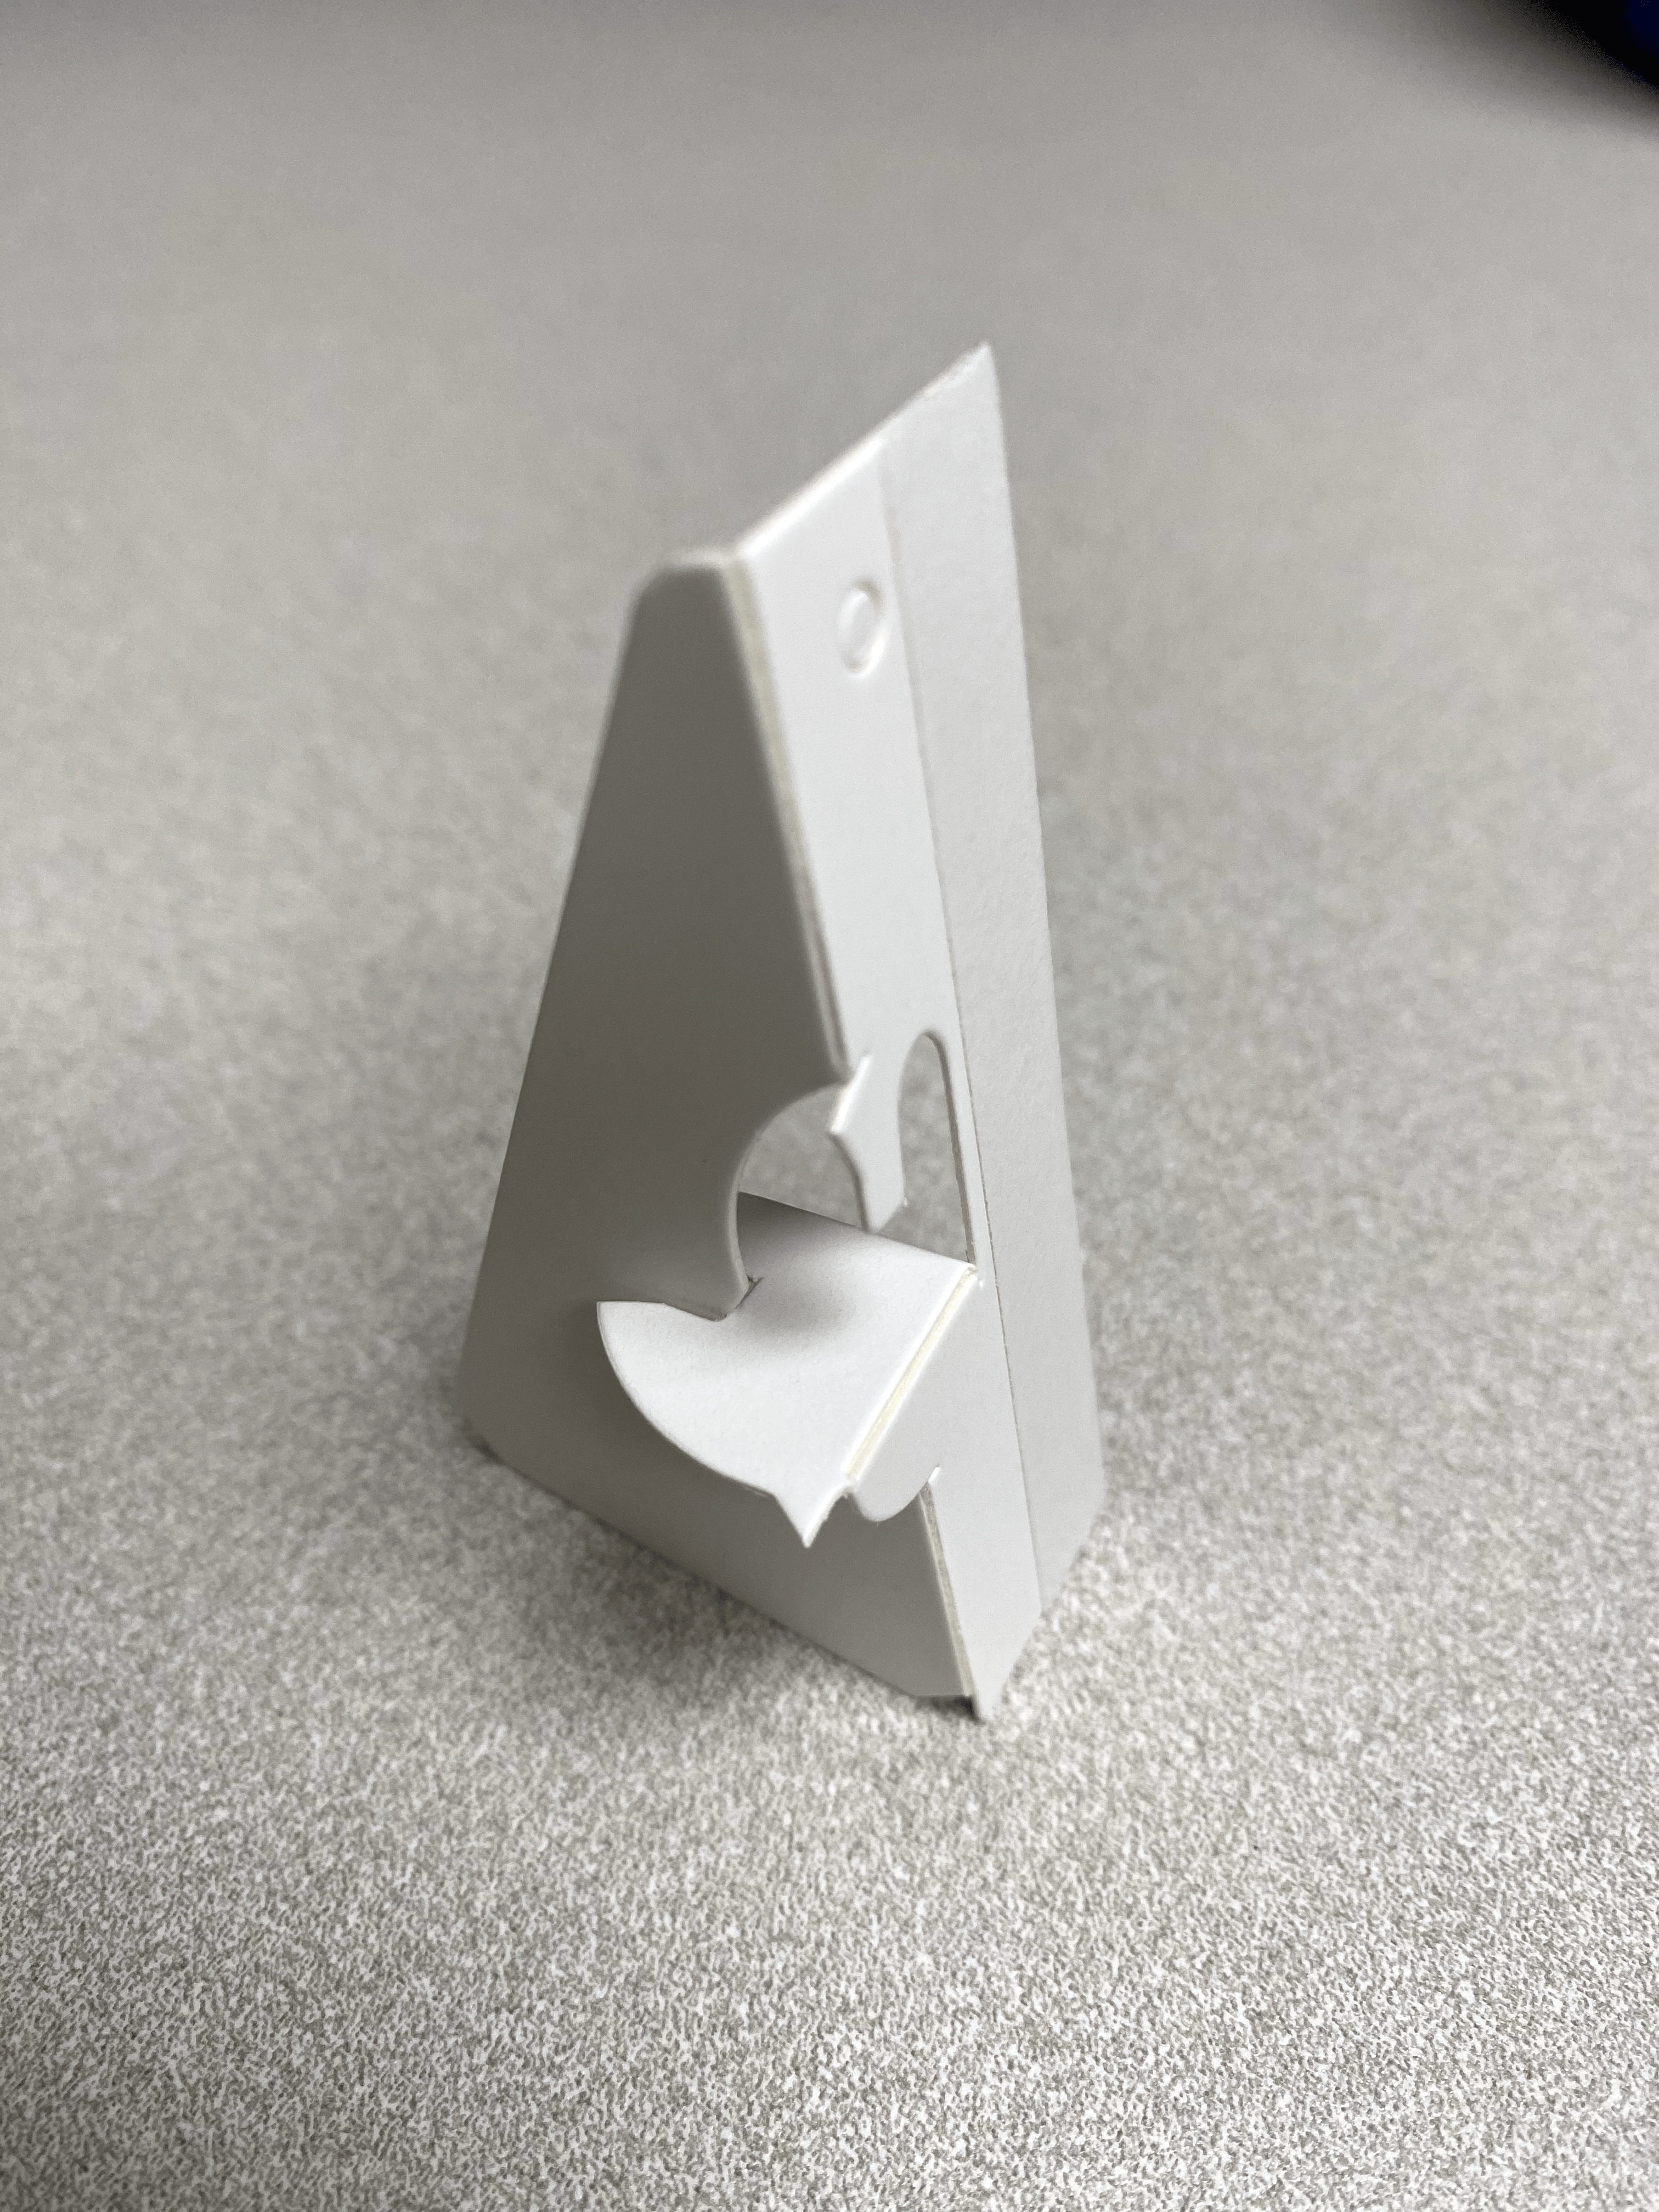
1 Cardboard stand
NOT included in your kit:
scissors
glue
Instructions:
- Trace the shape of the cutout onto the piece of fabric and cut it out.
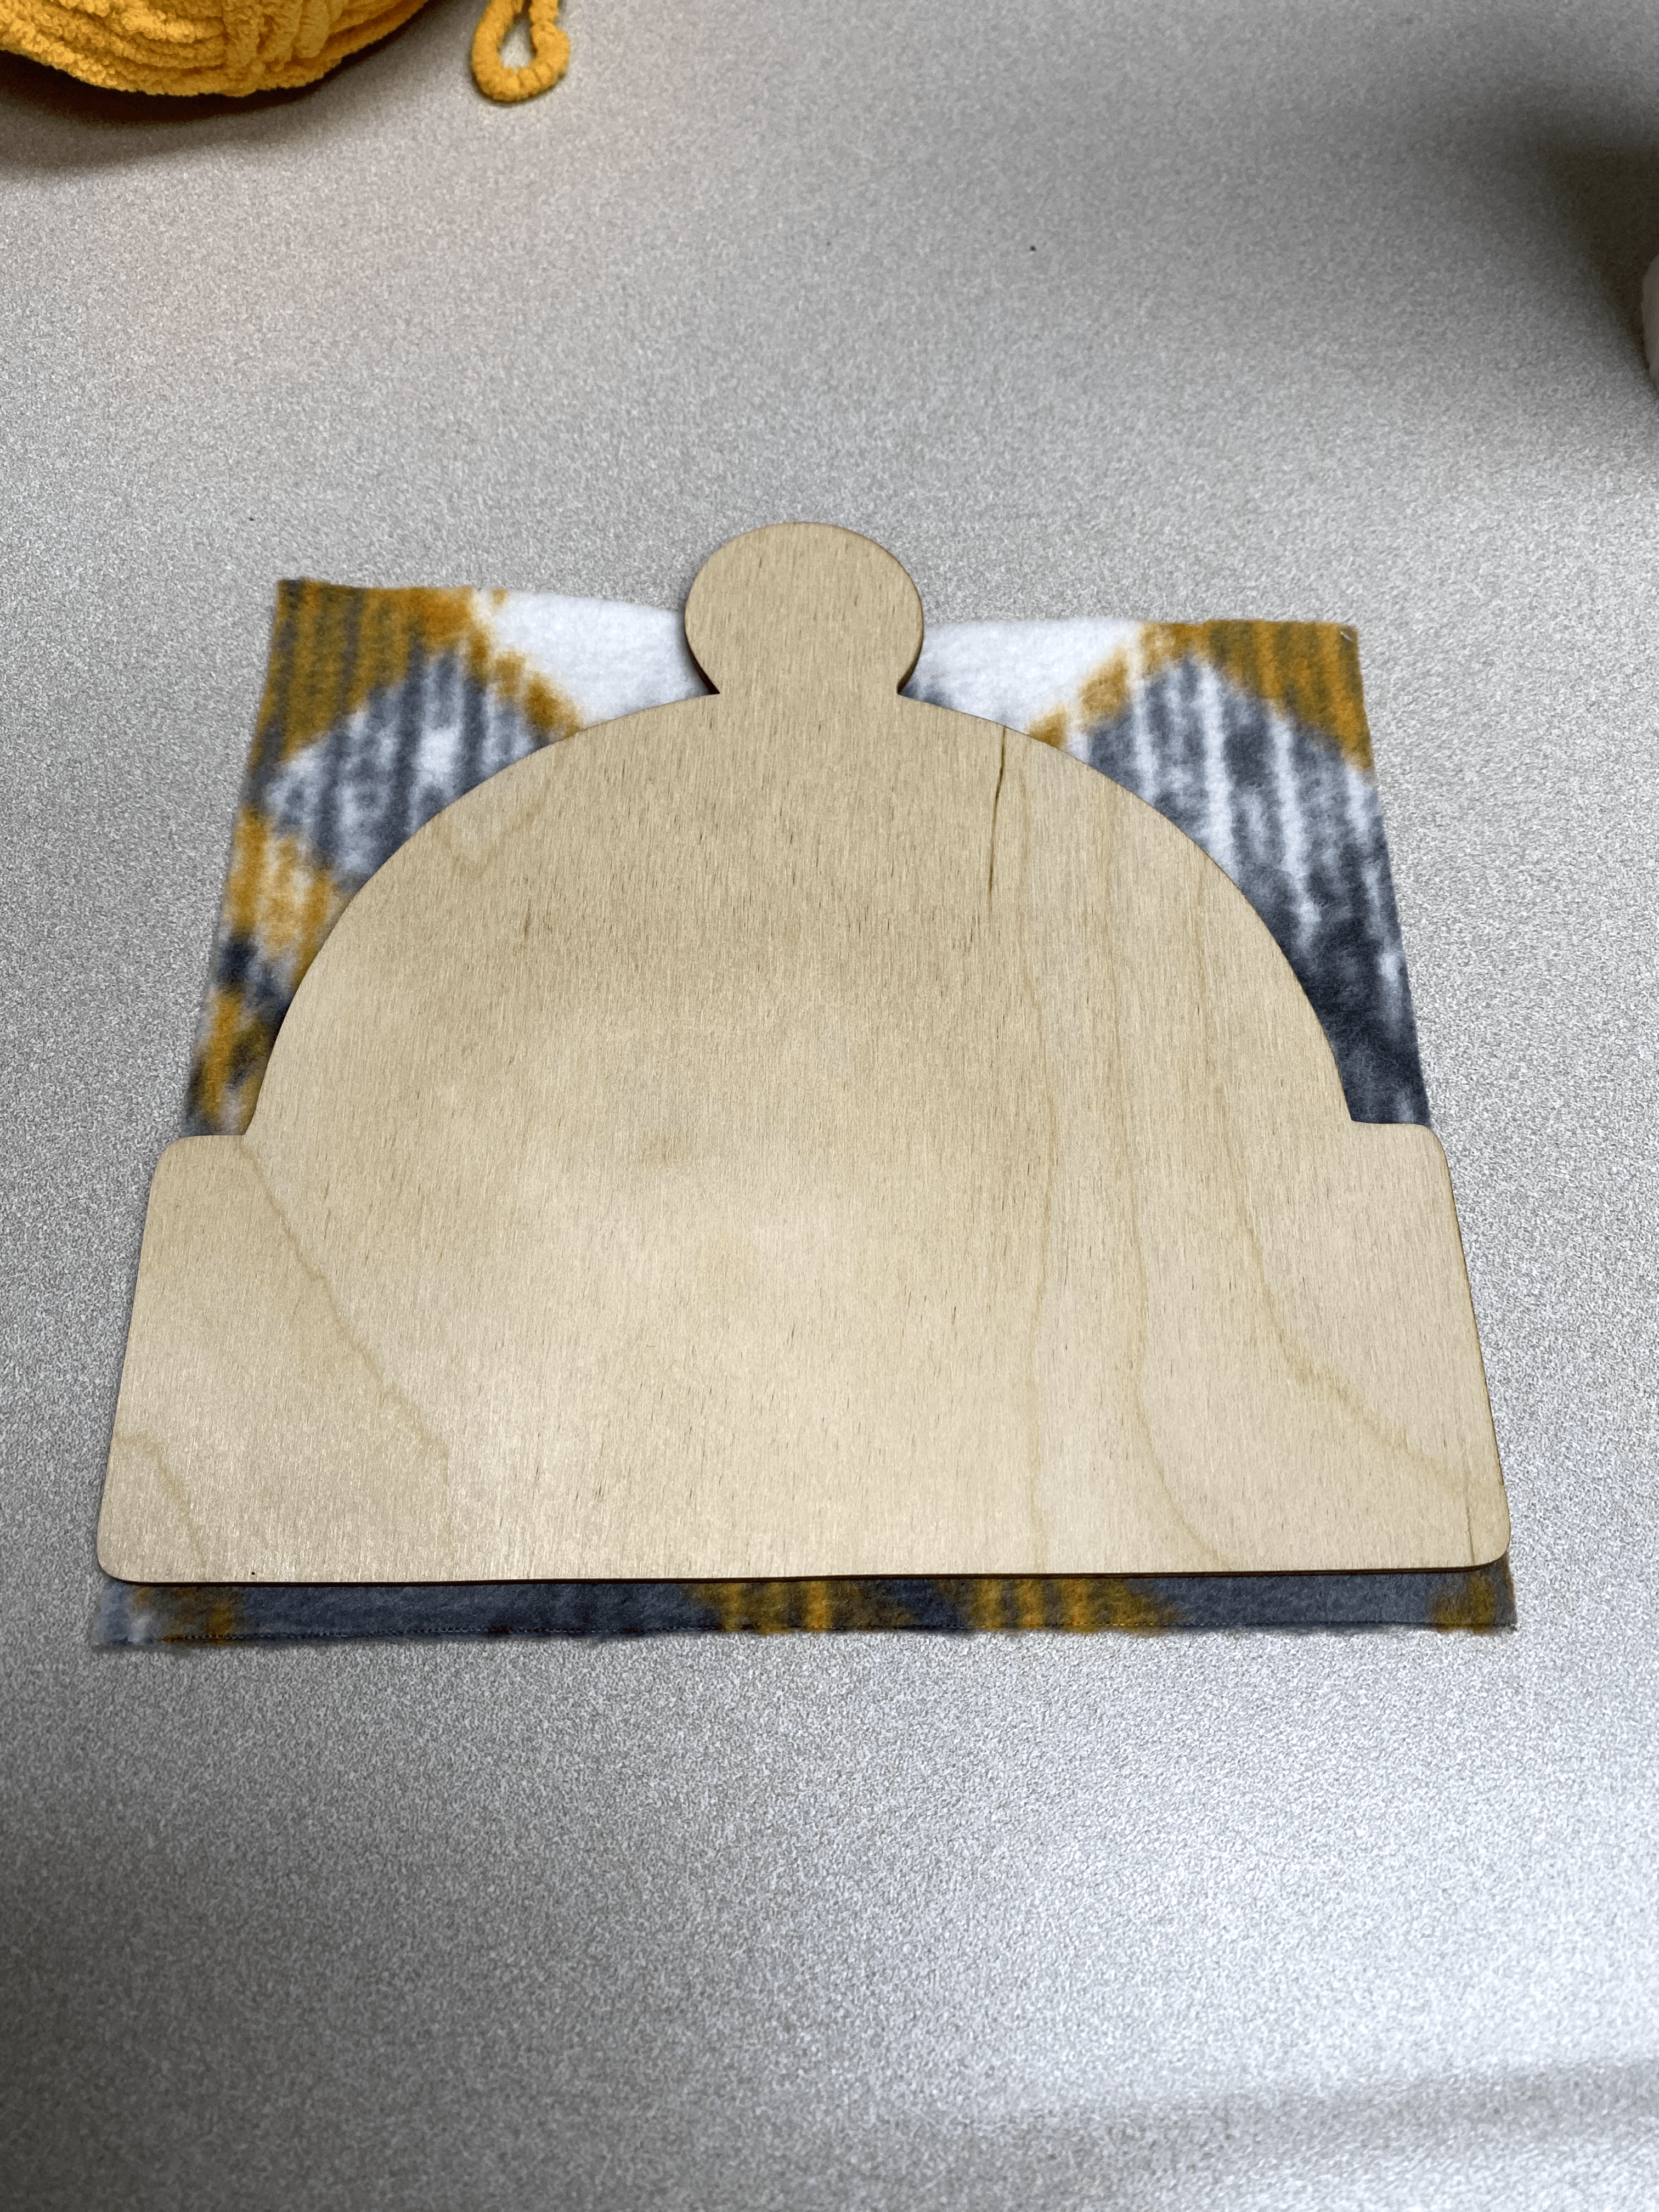
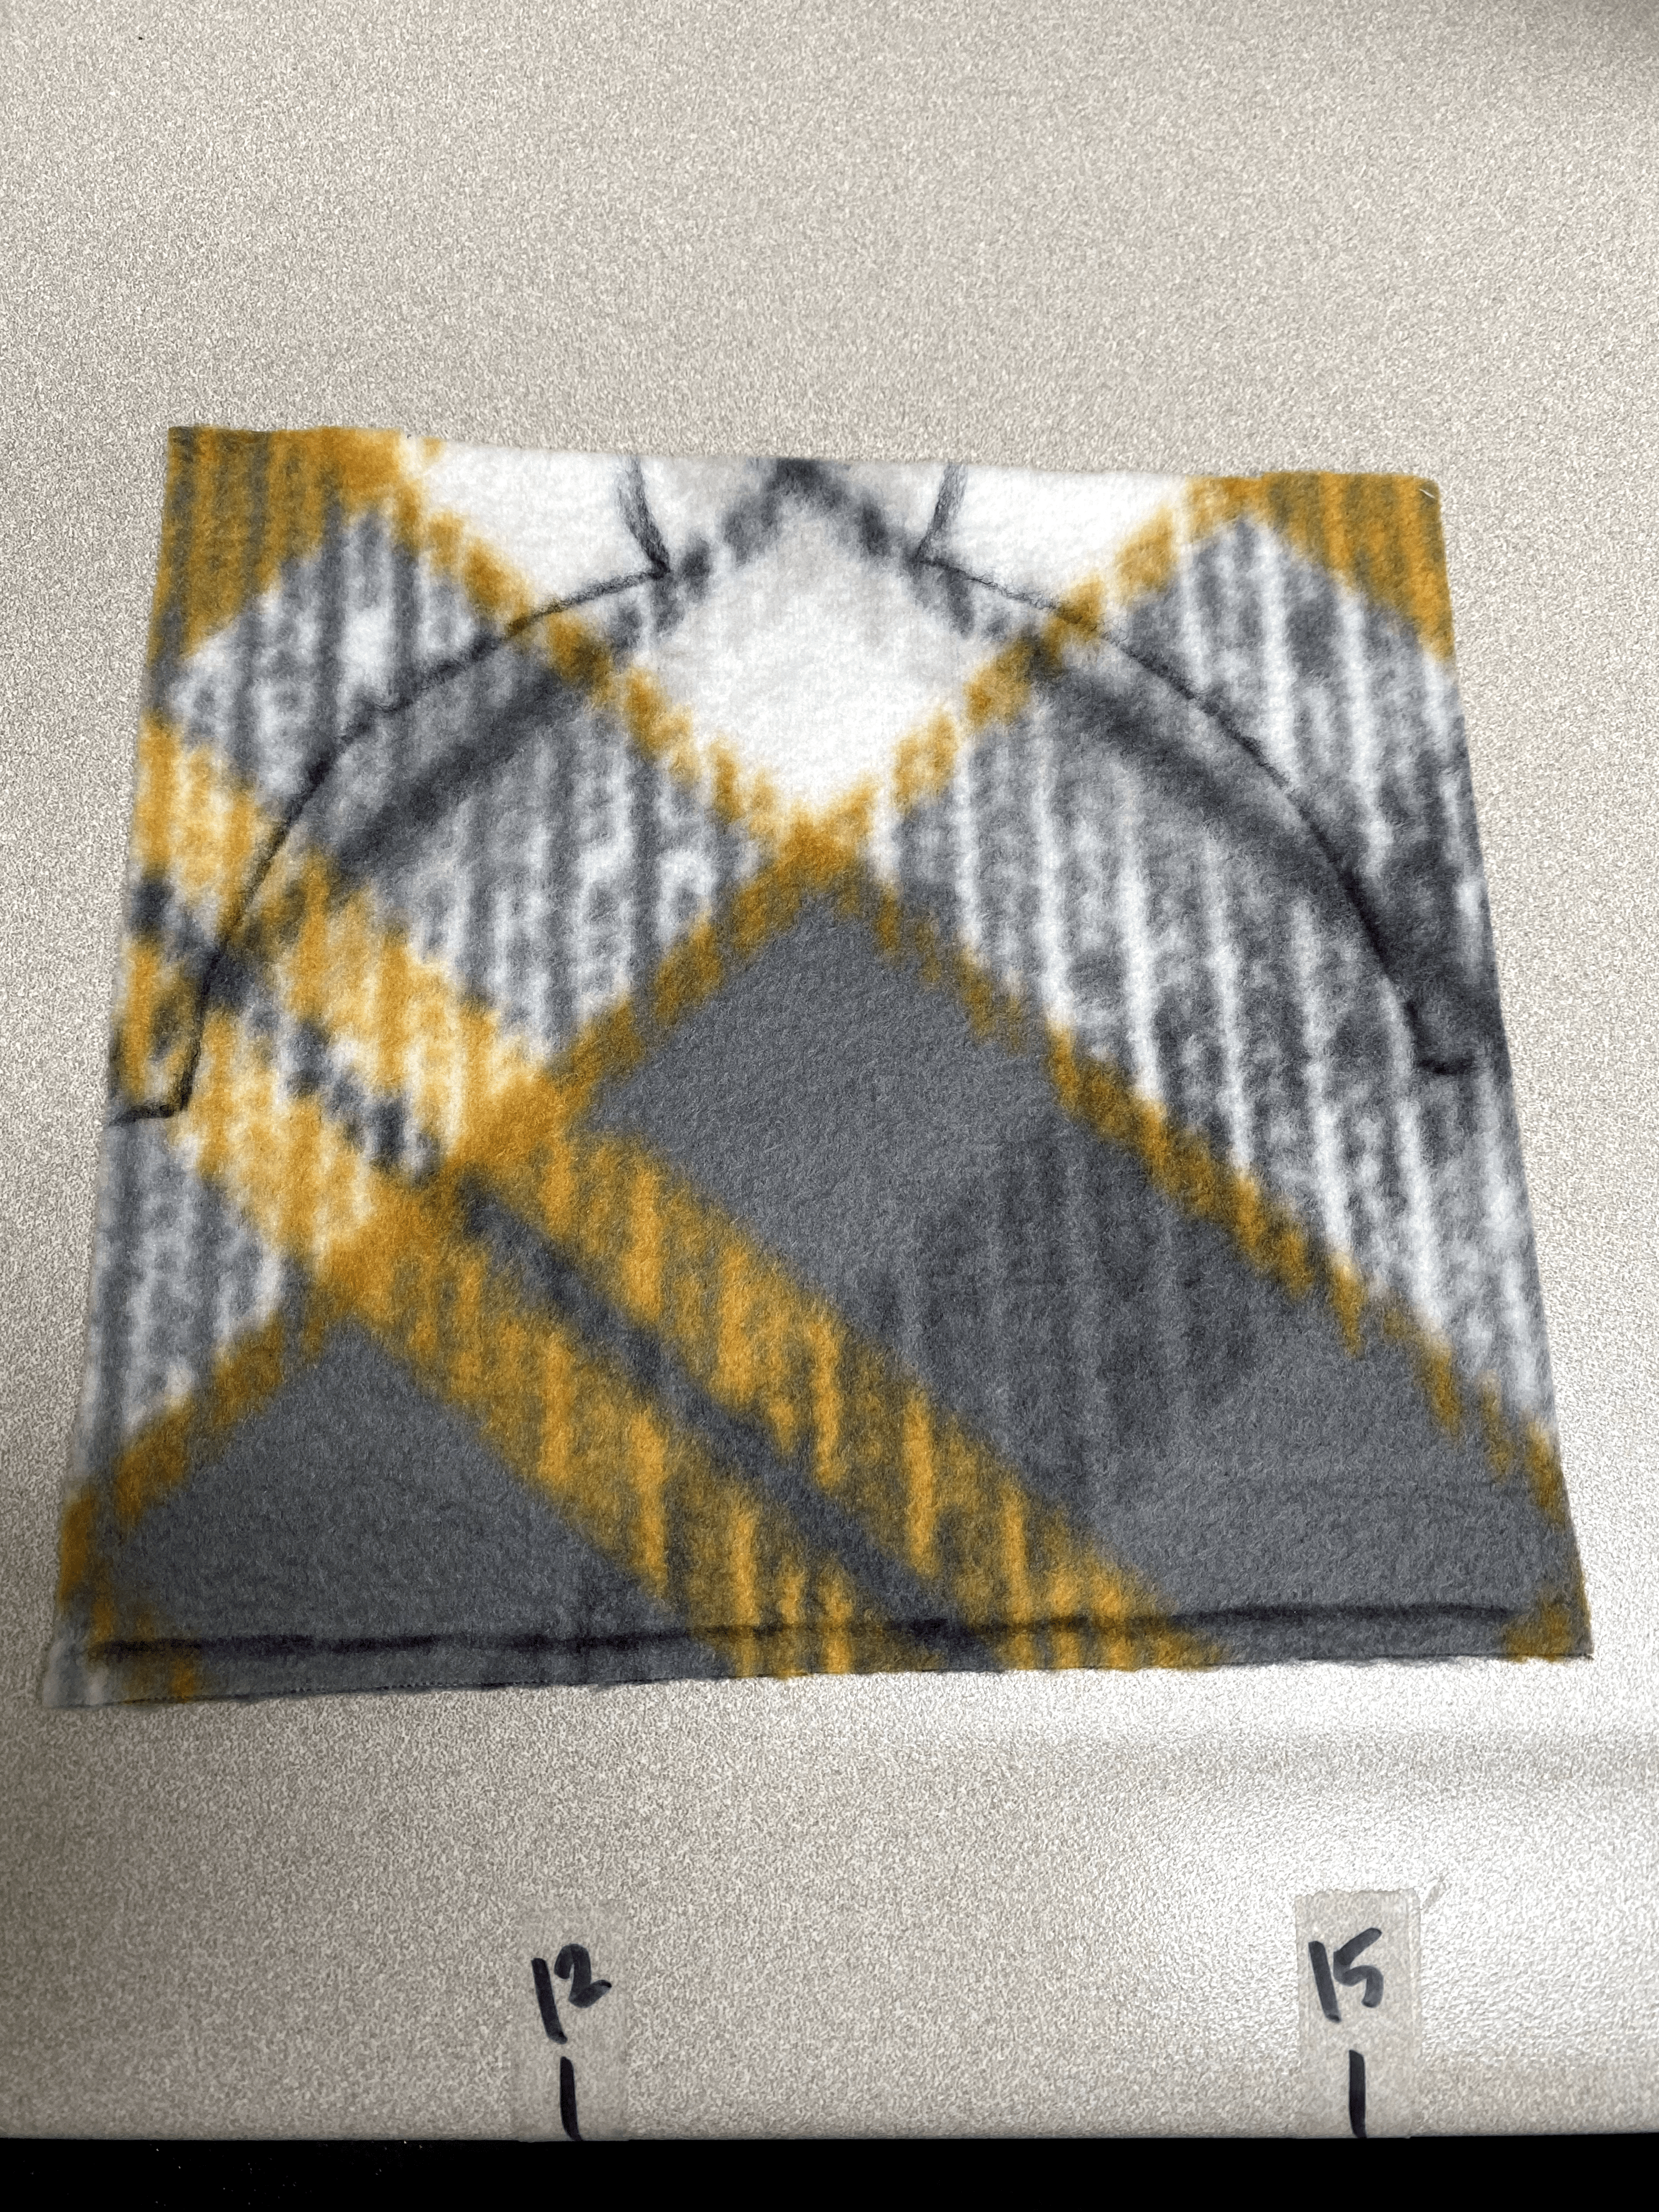
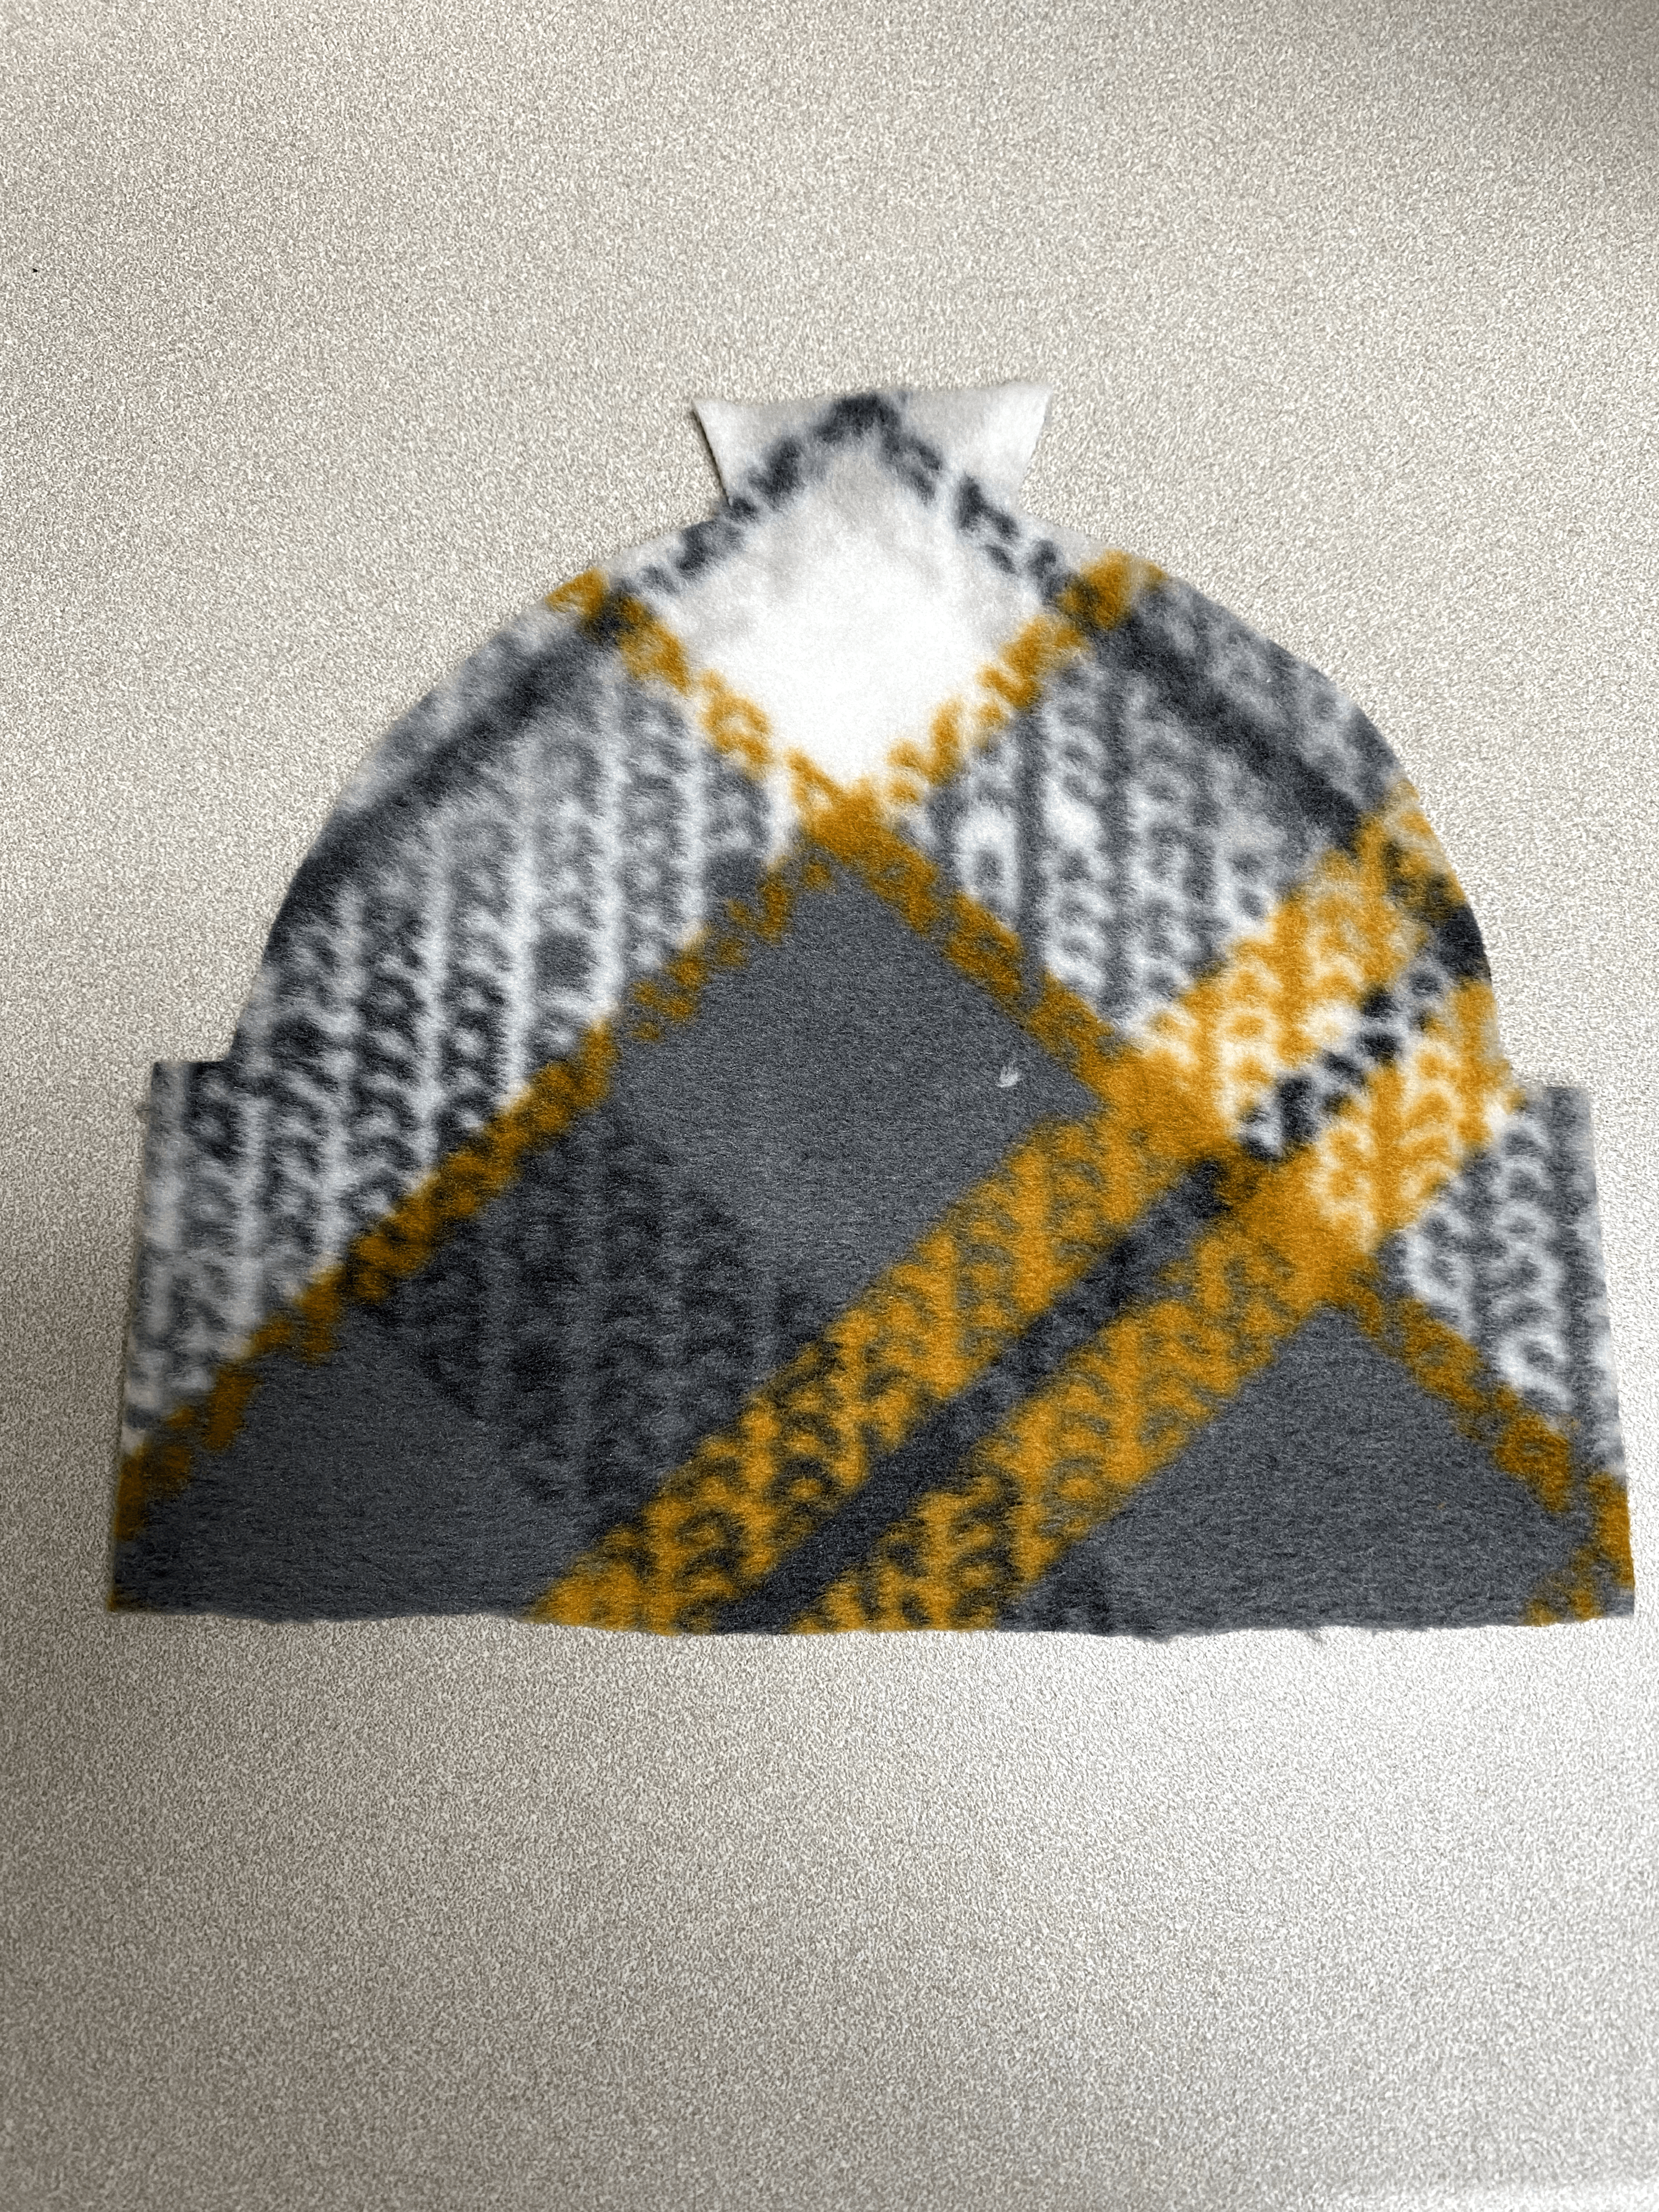
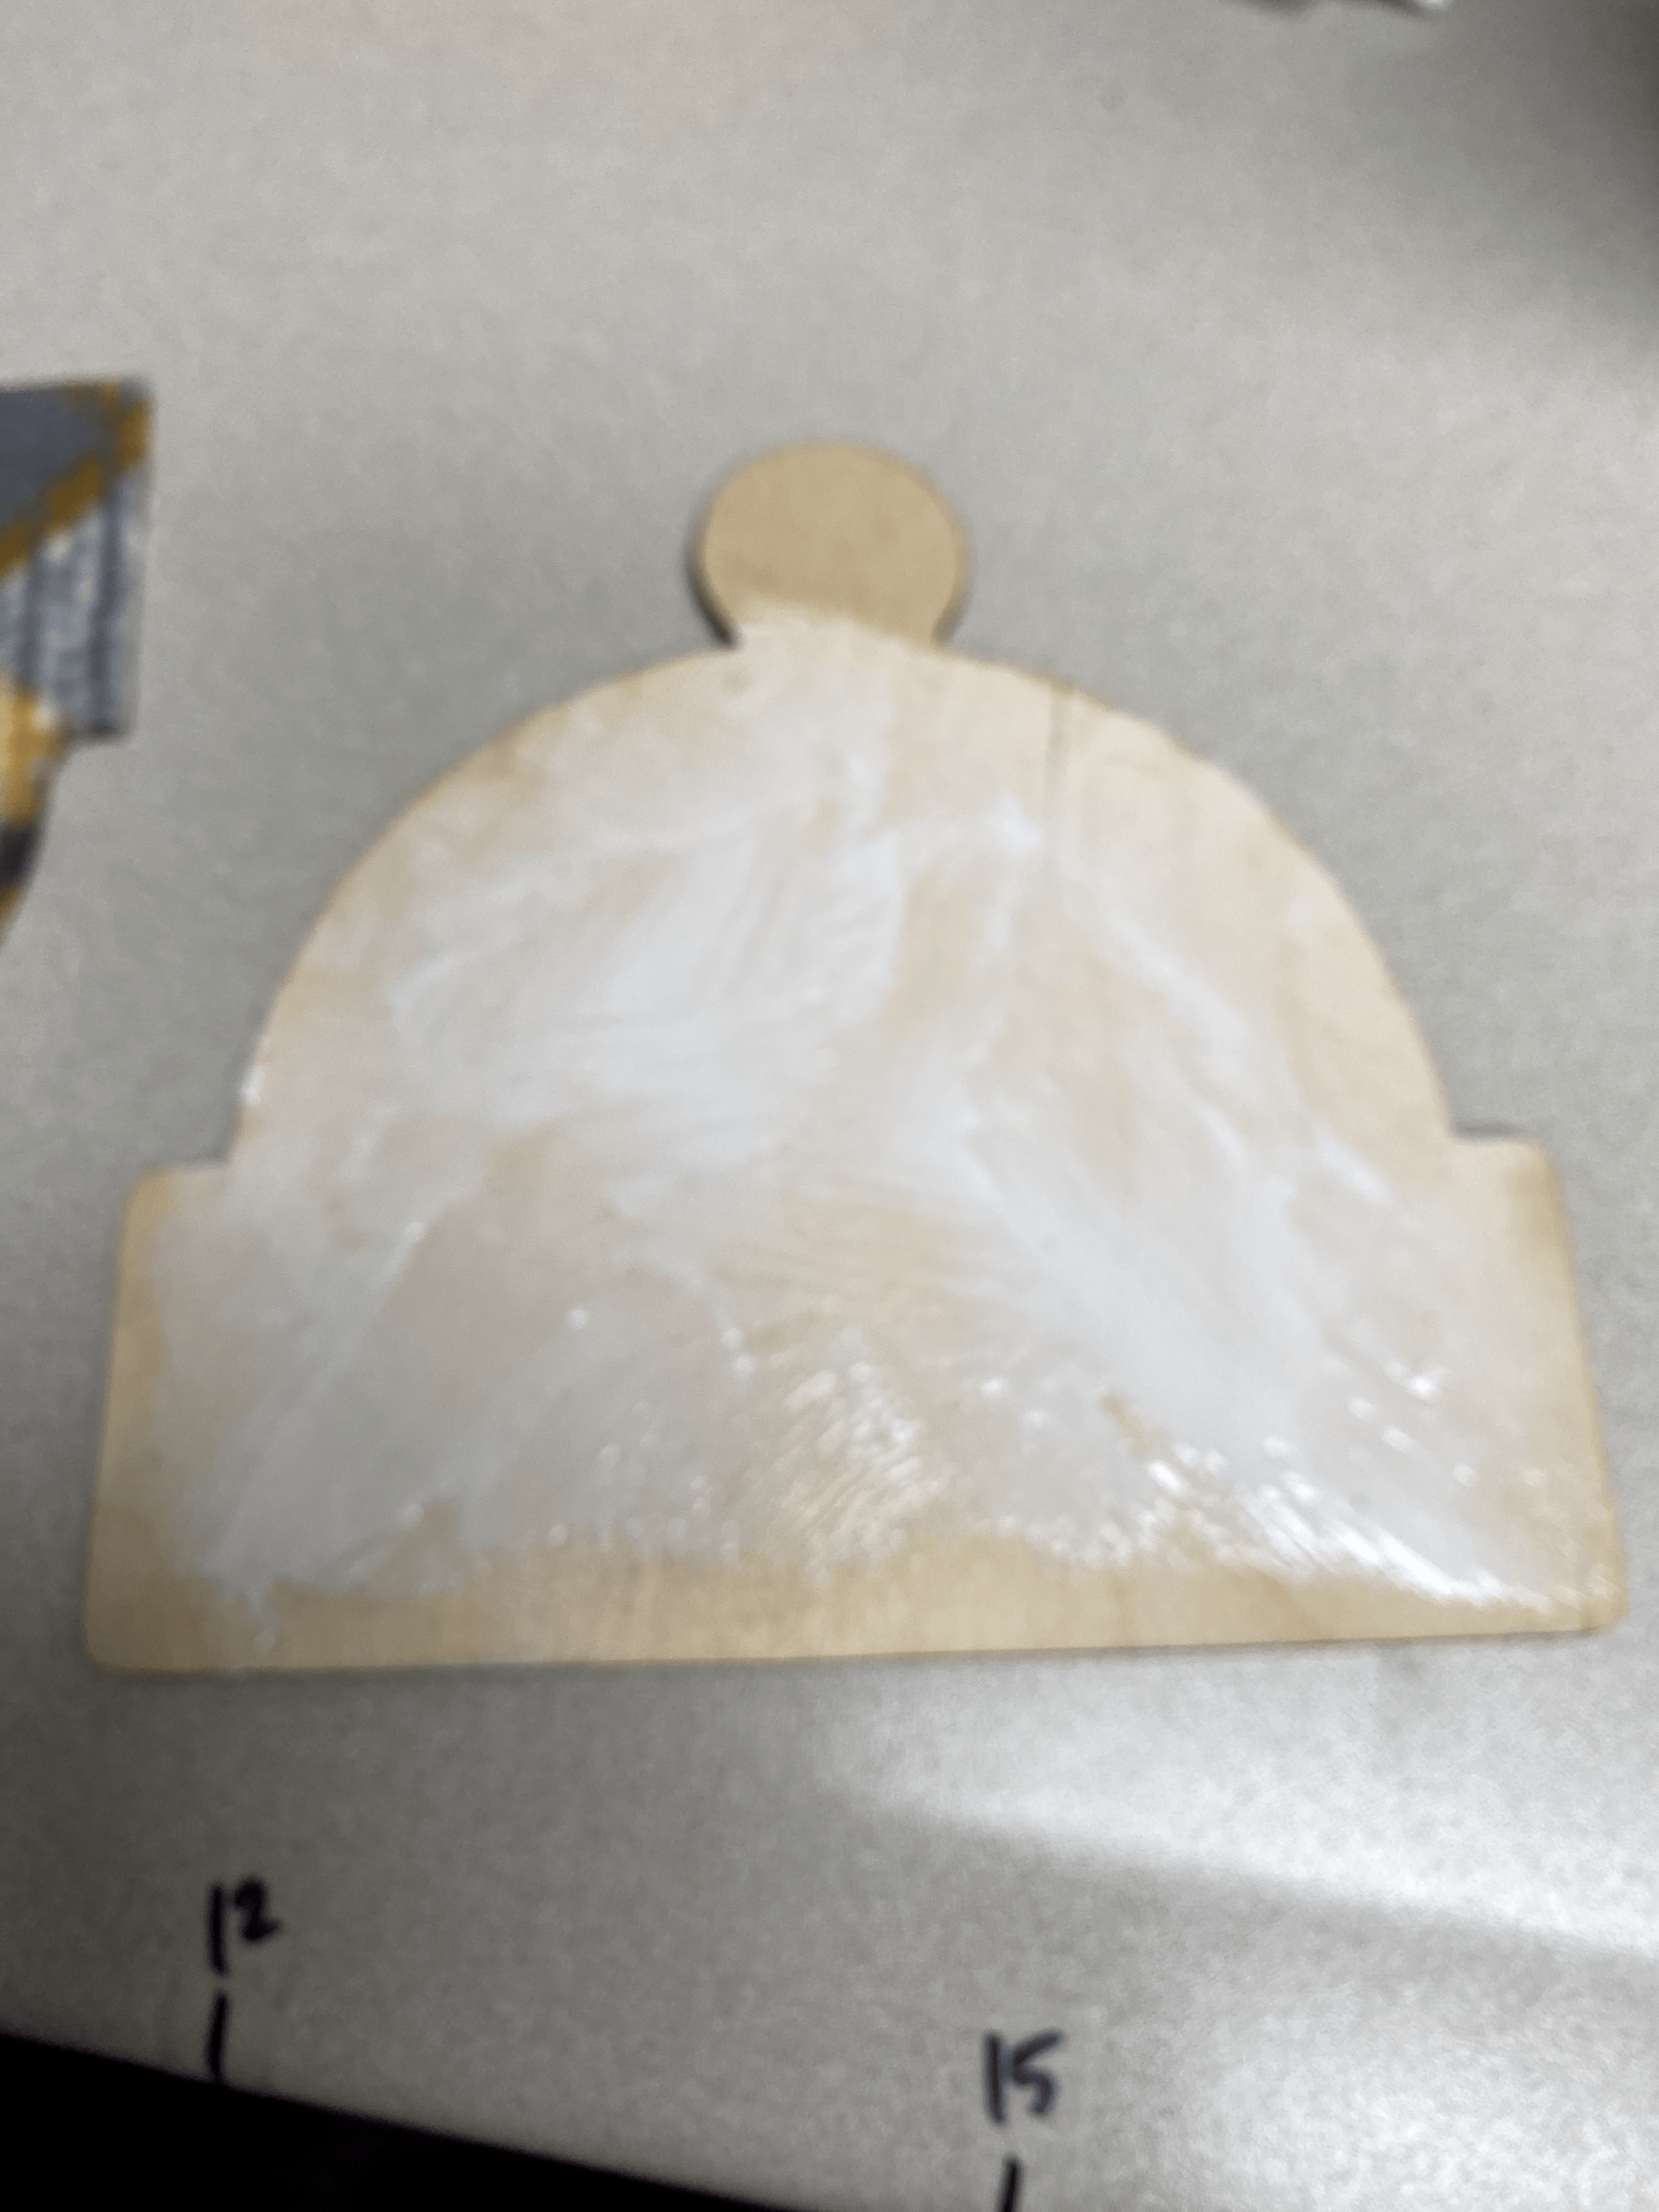
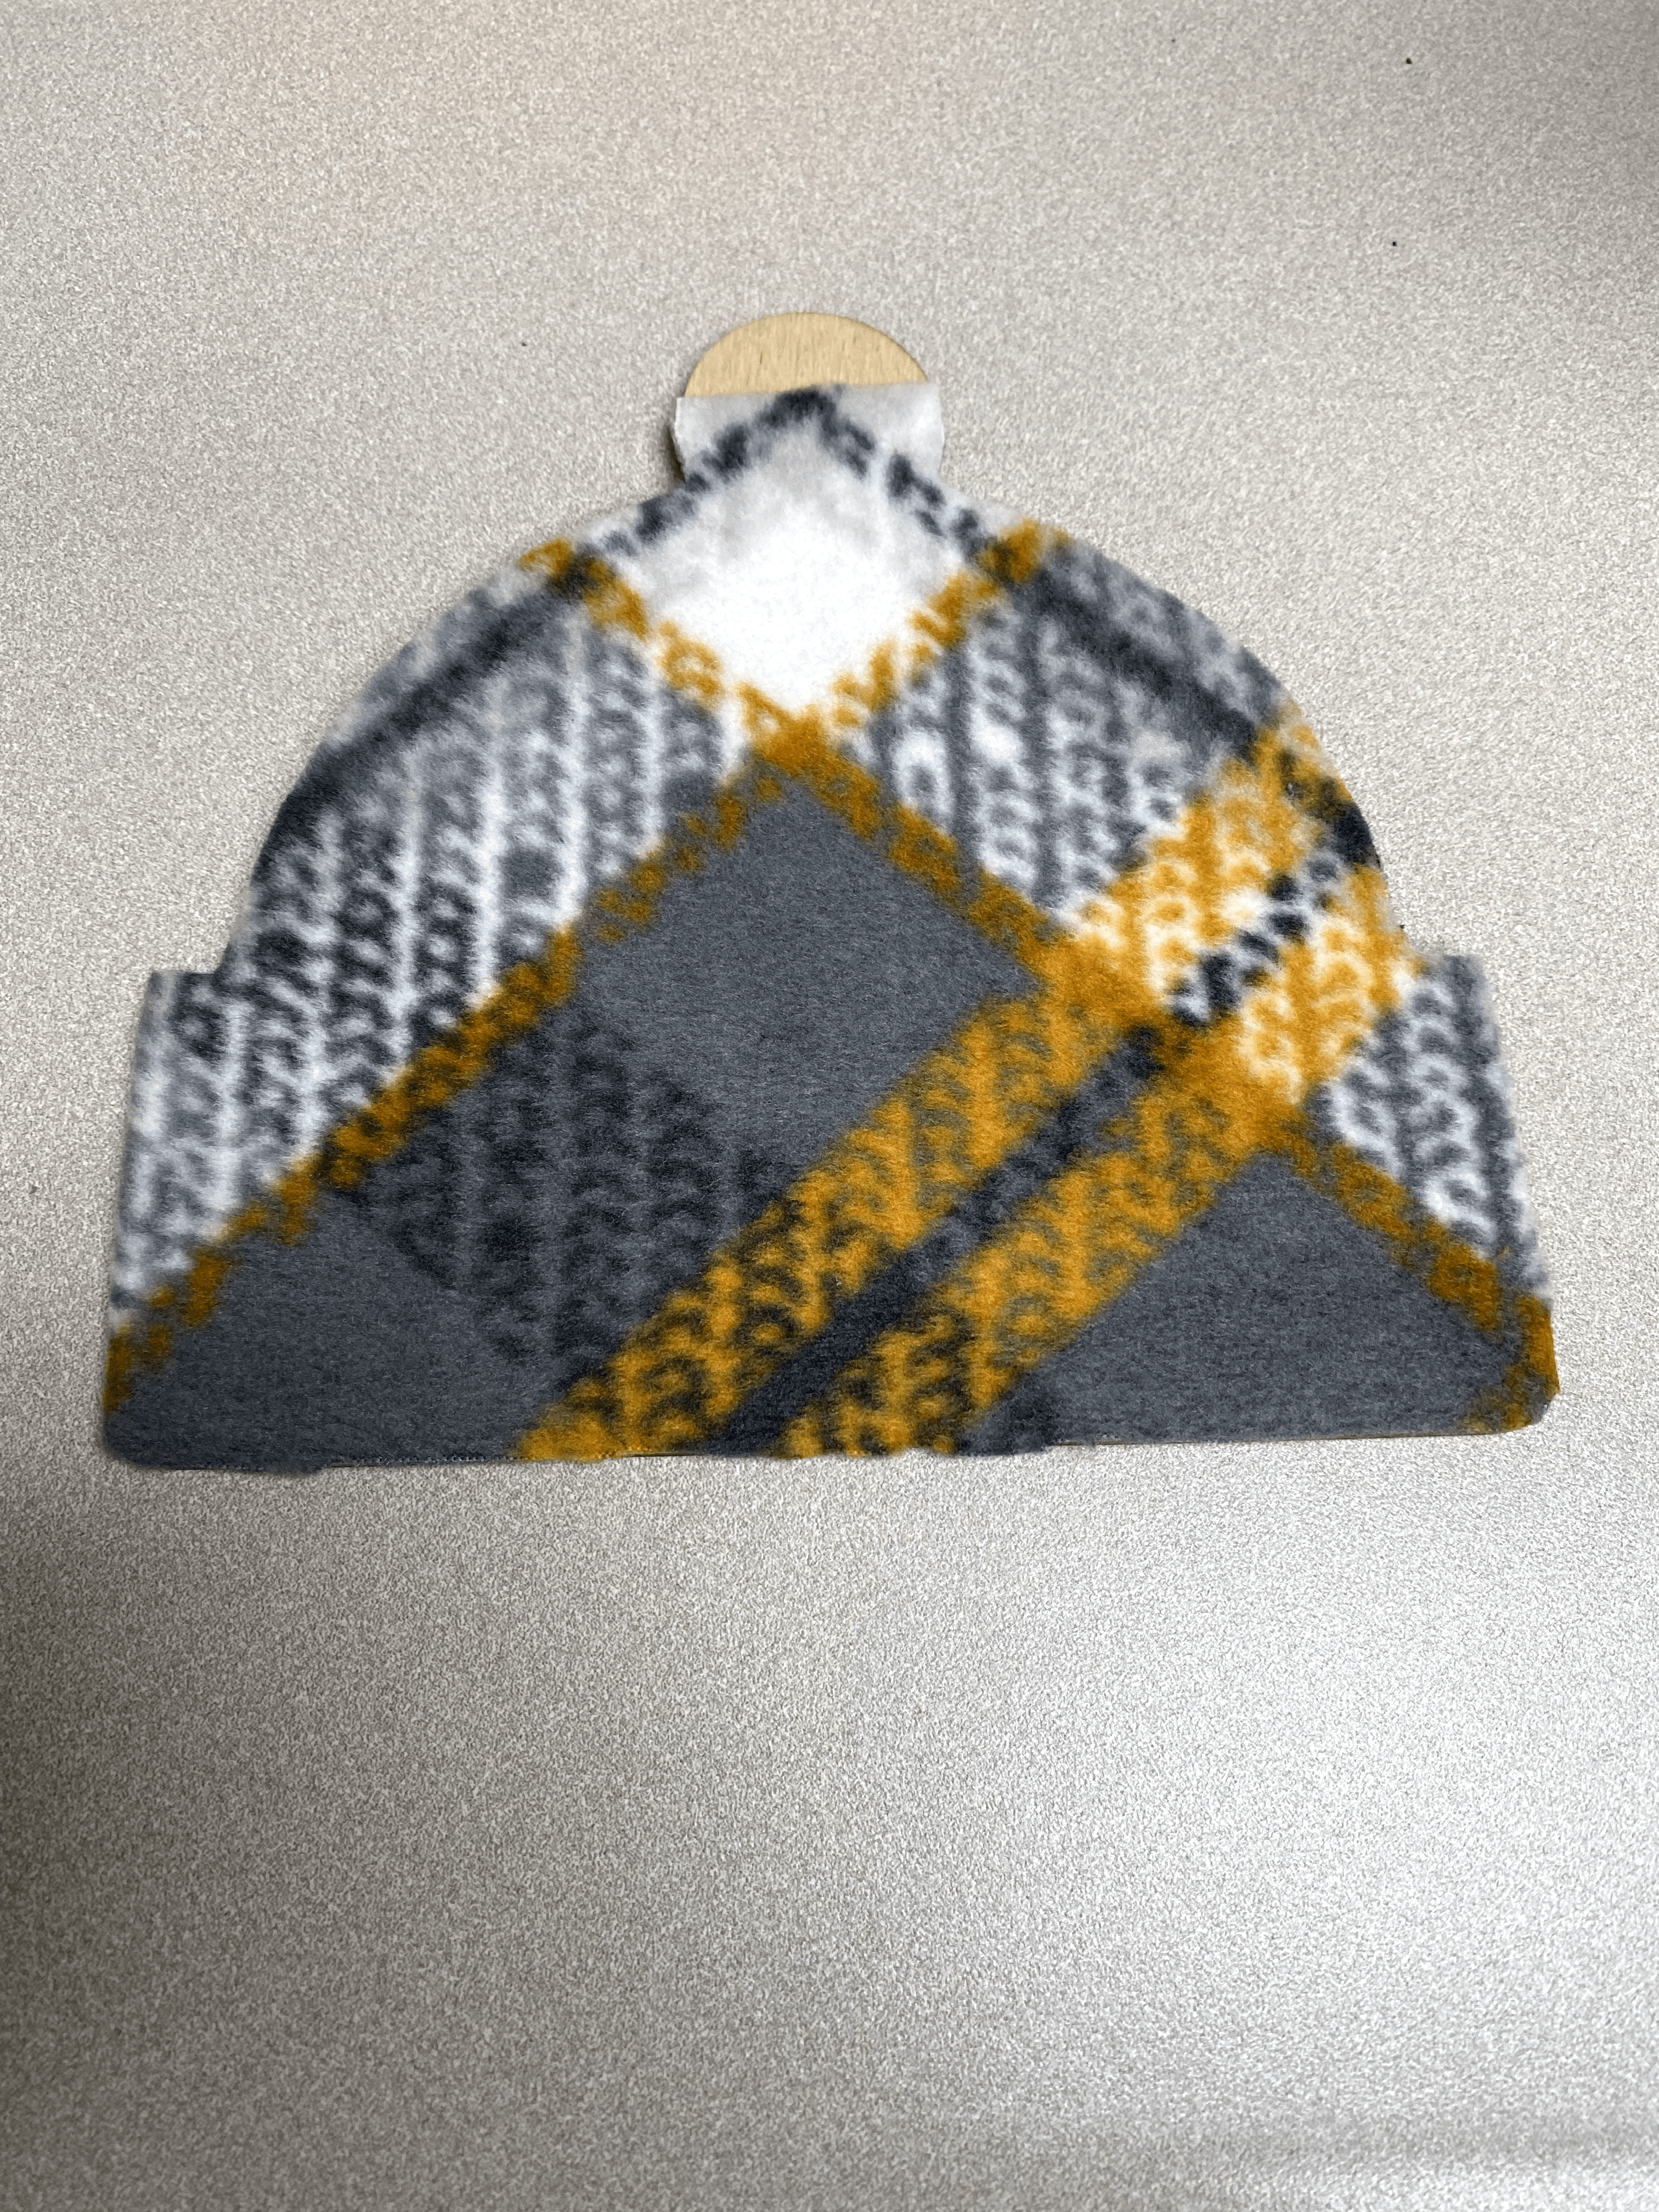
2. Cover the wood with glue and glue down the fabric.
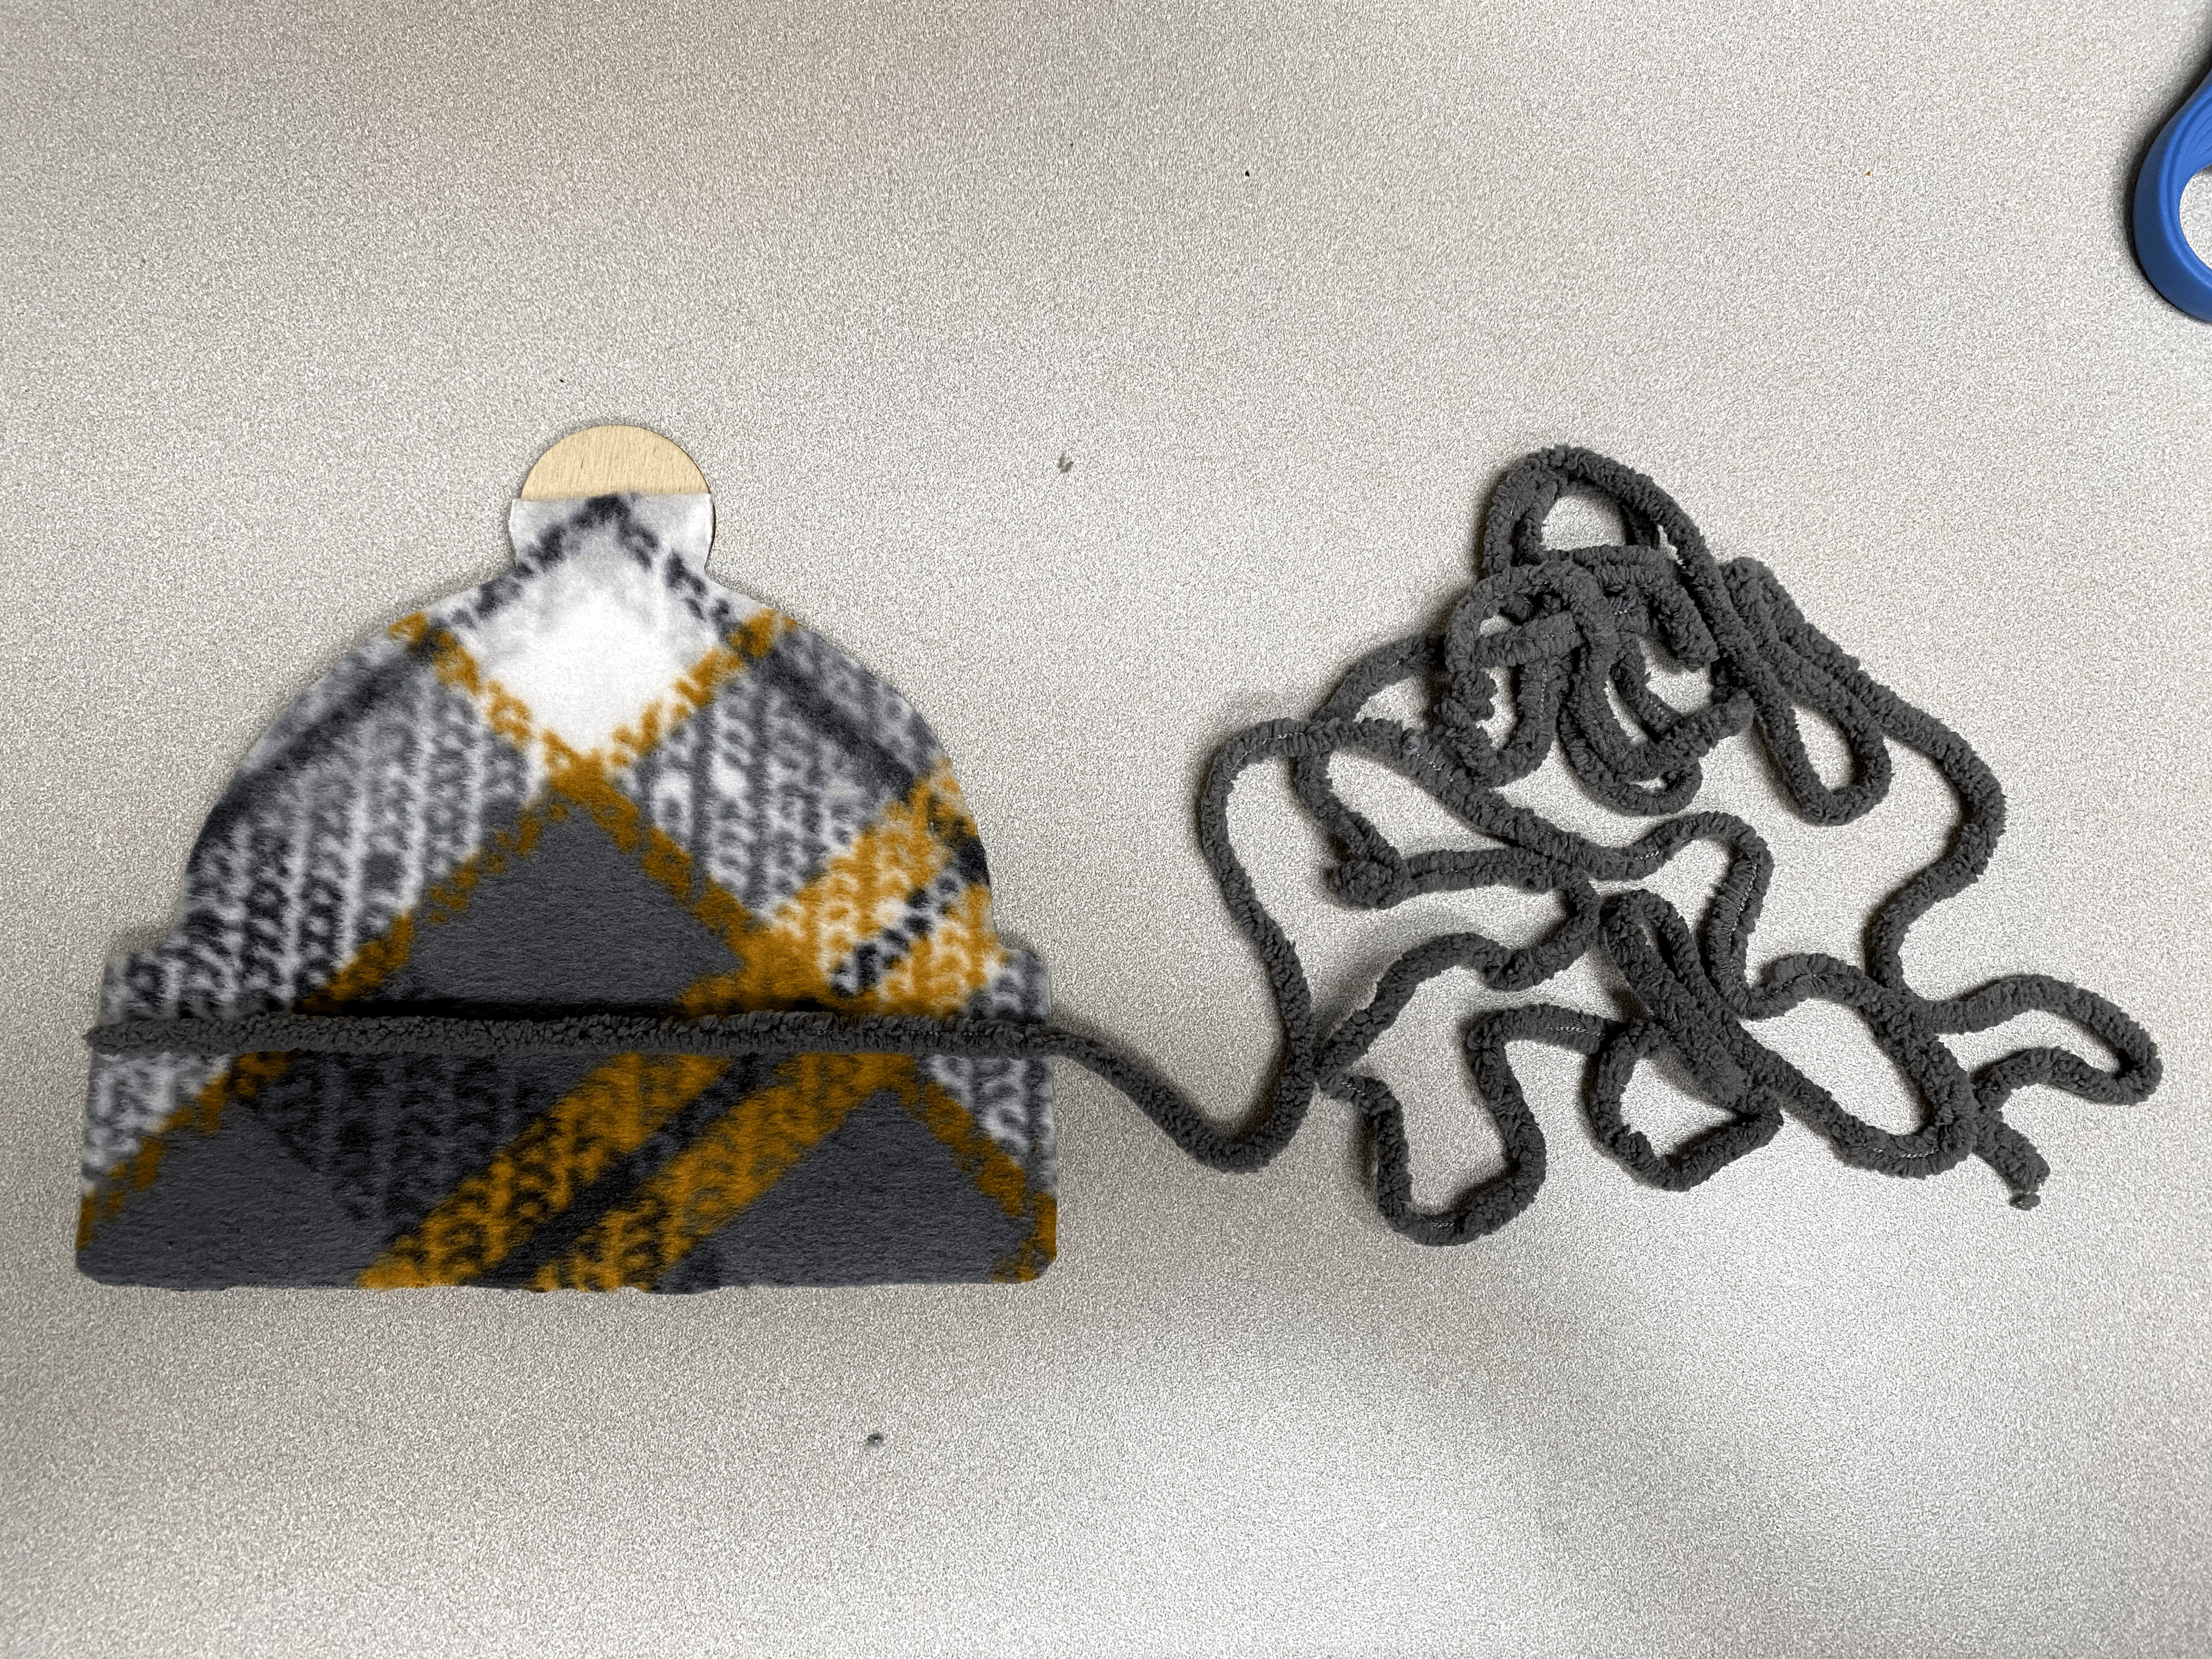
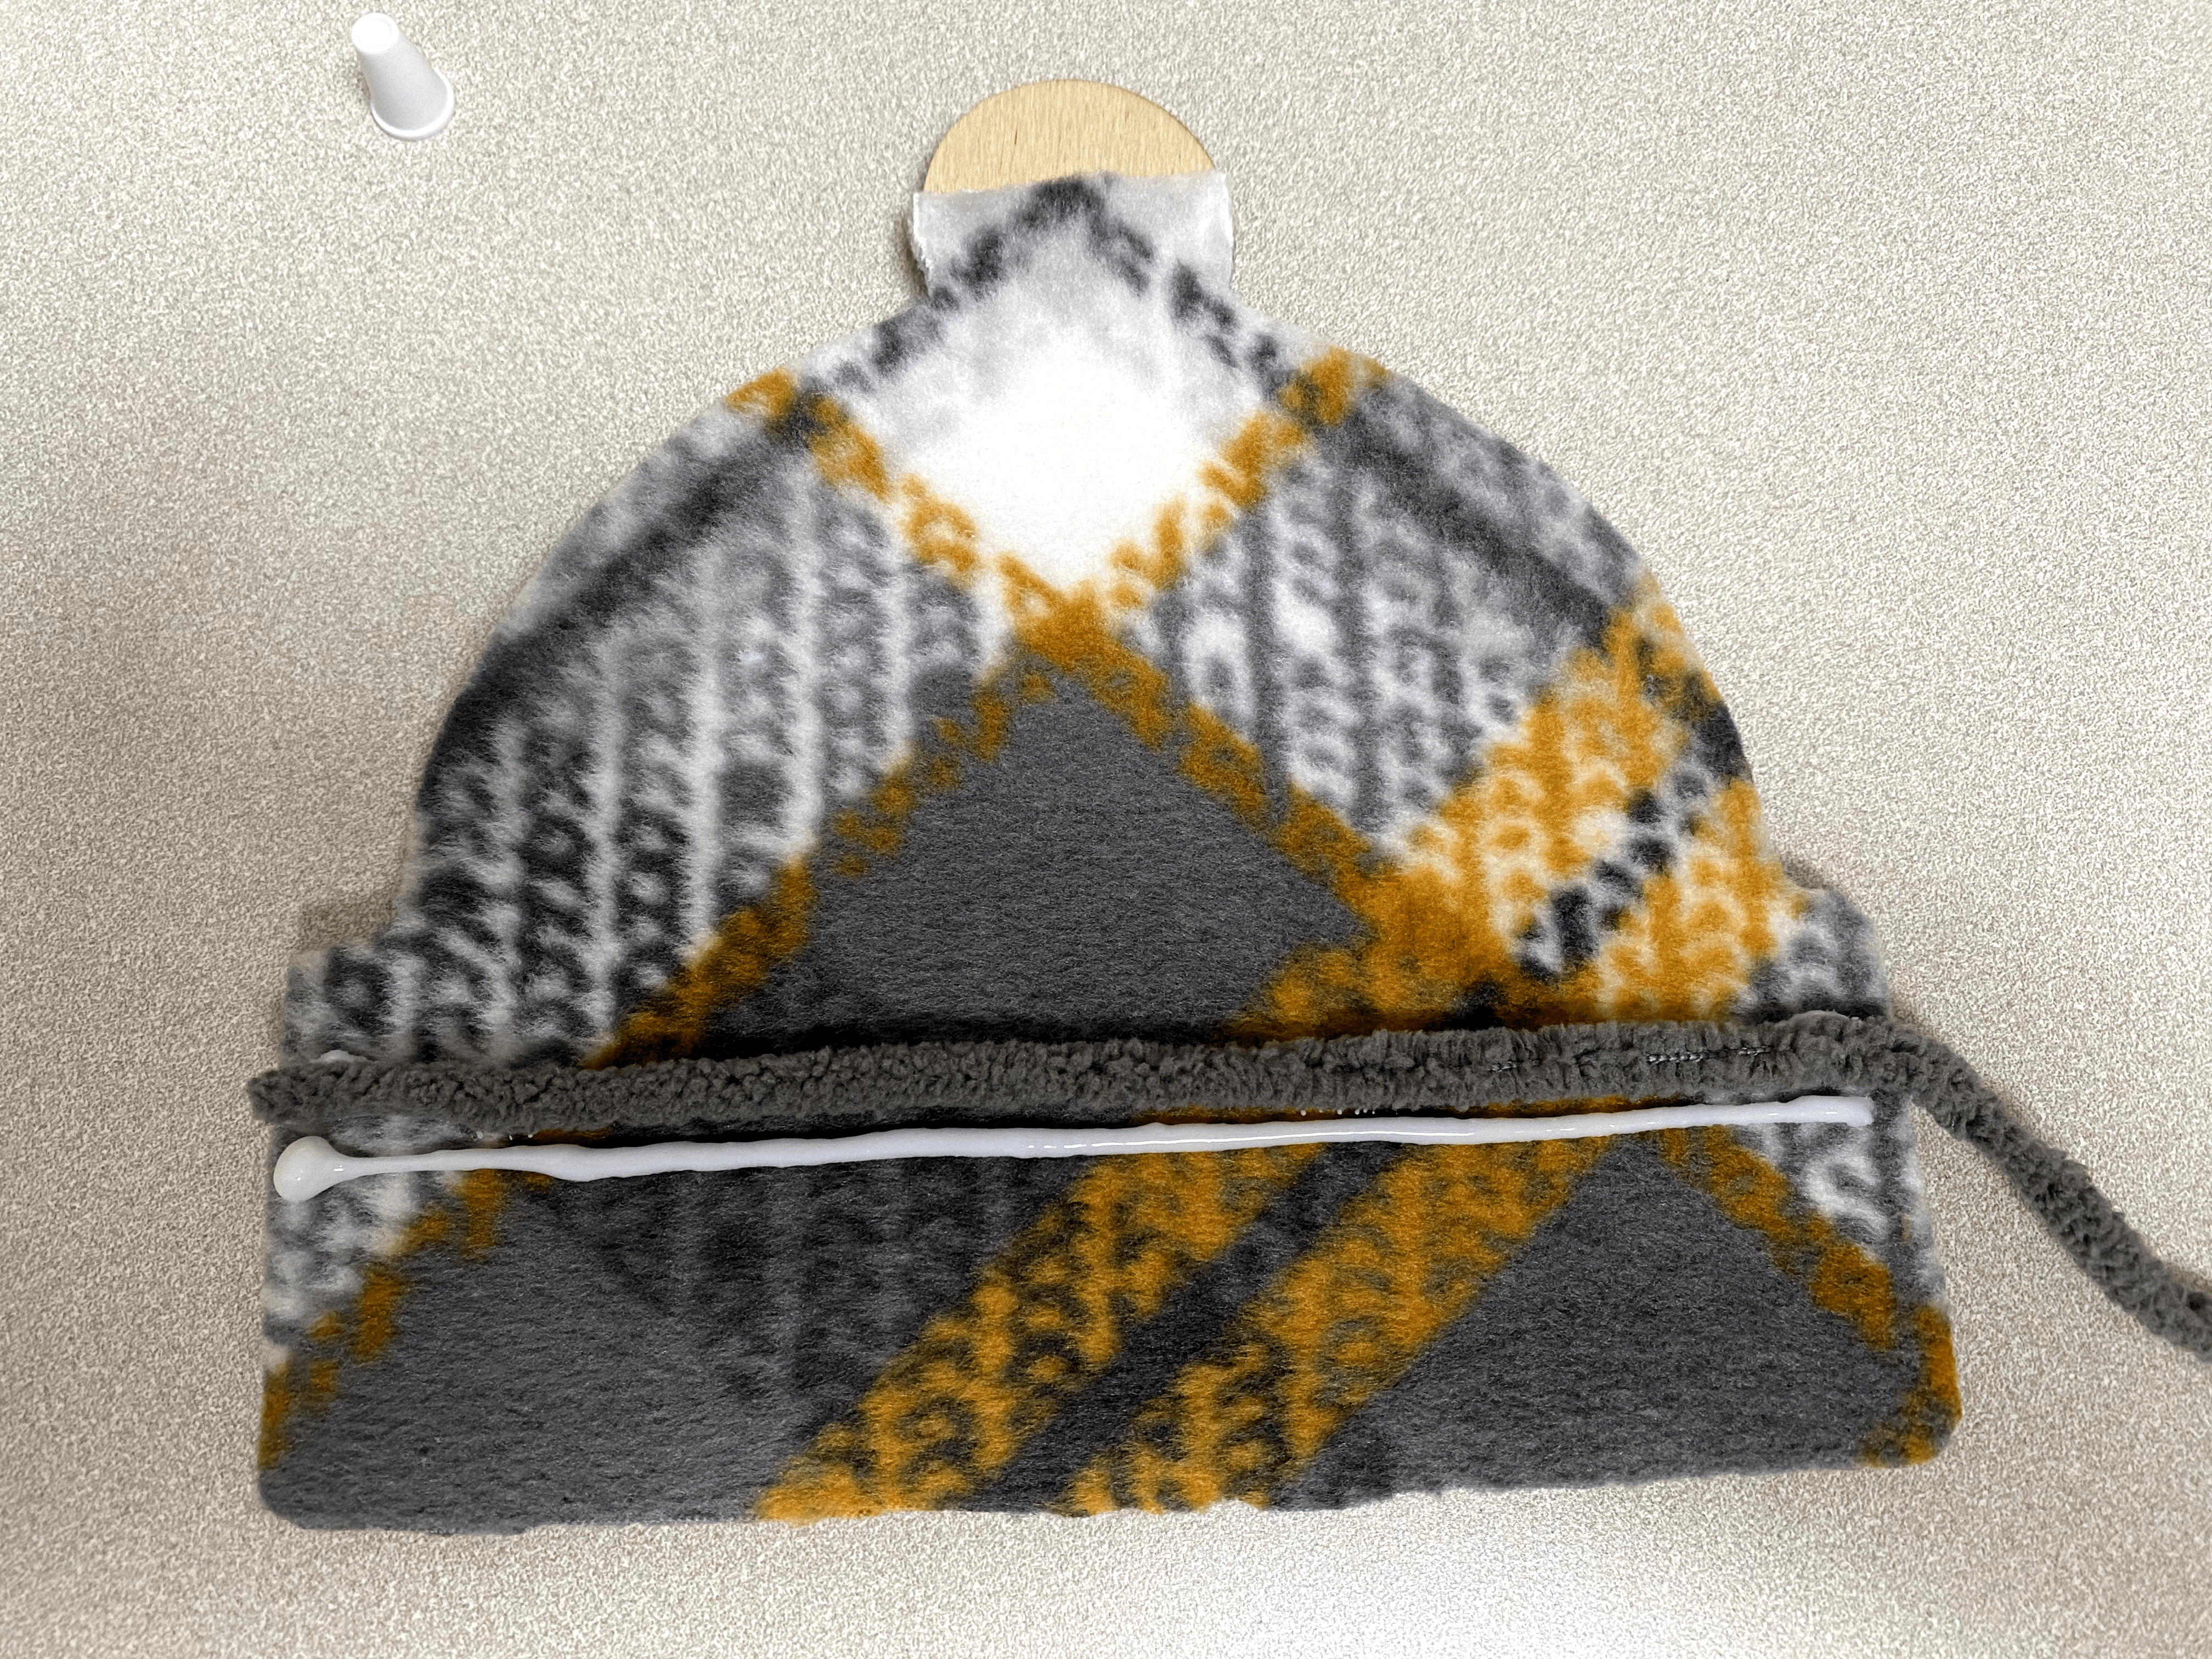
3. Glue on the gray yarn to the bottom of the hat. I started a little lower than the start of the band. DO NOT wrap around the back of the hat. You will not have enough yarn.
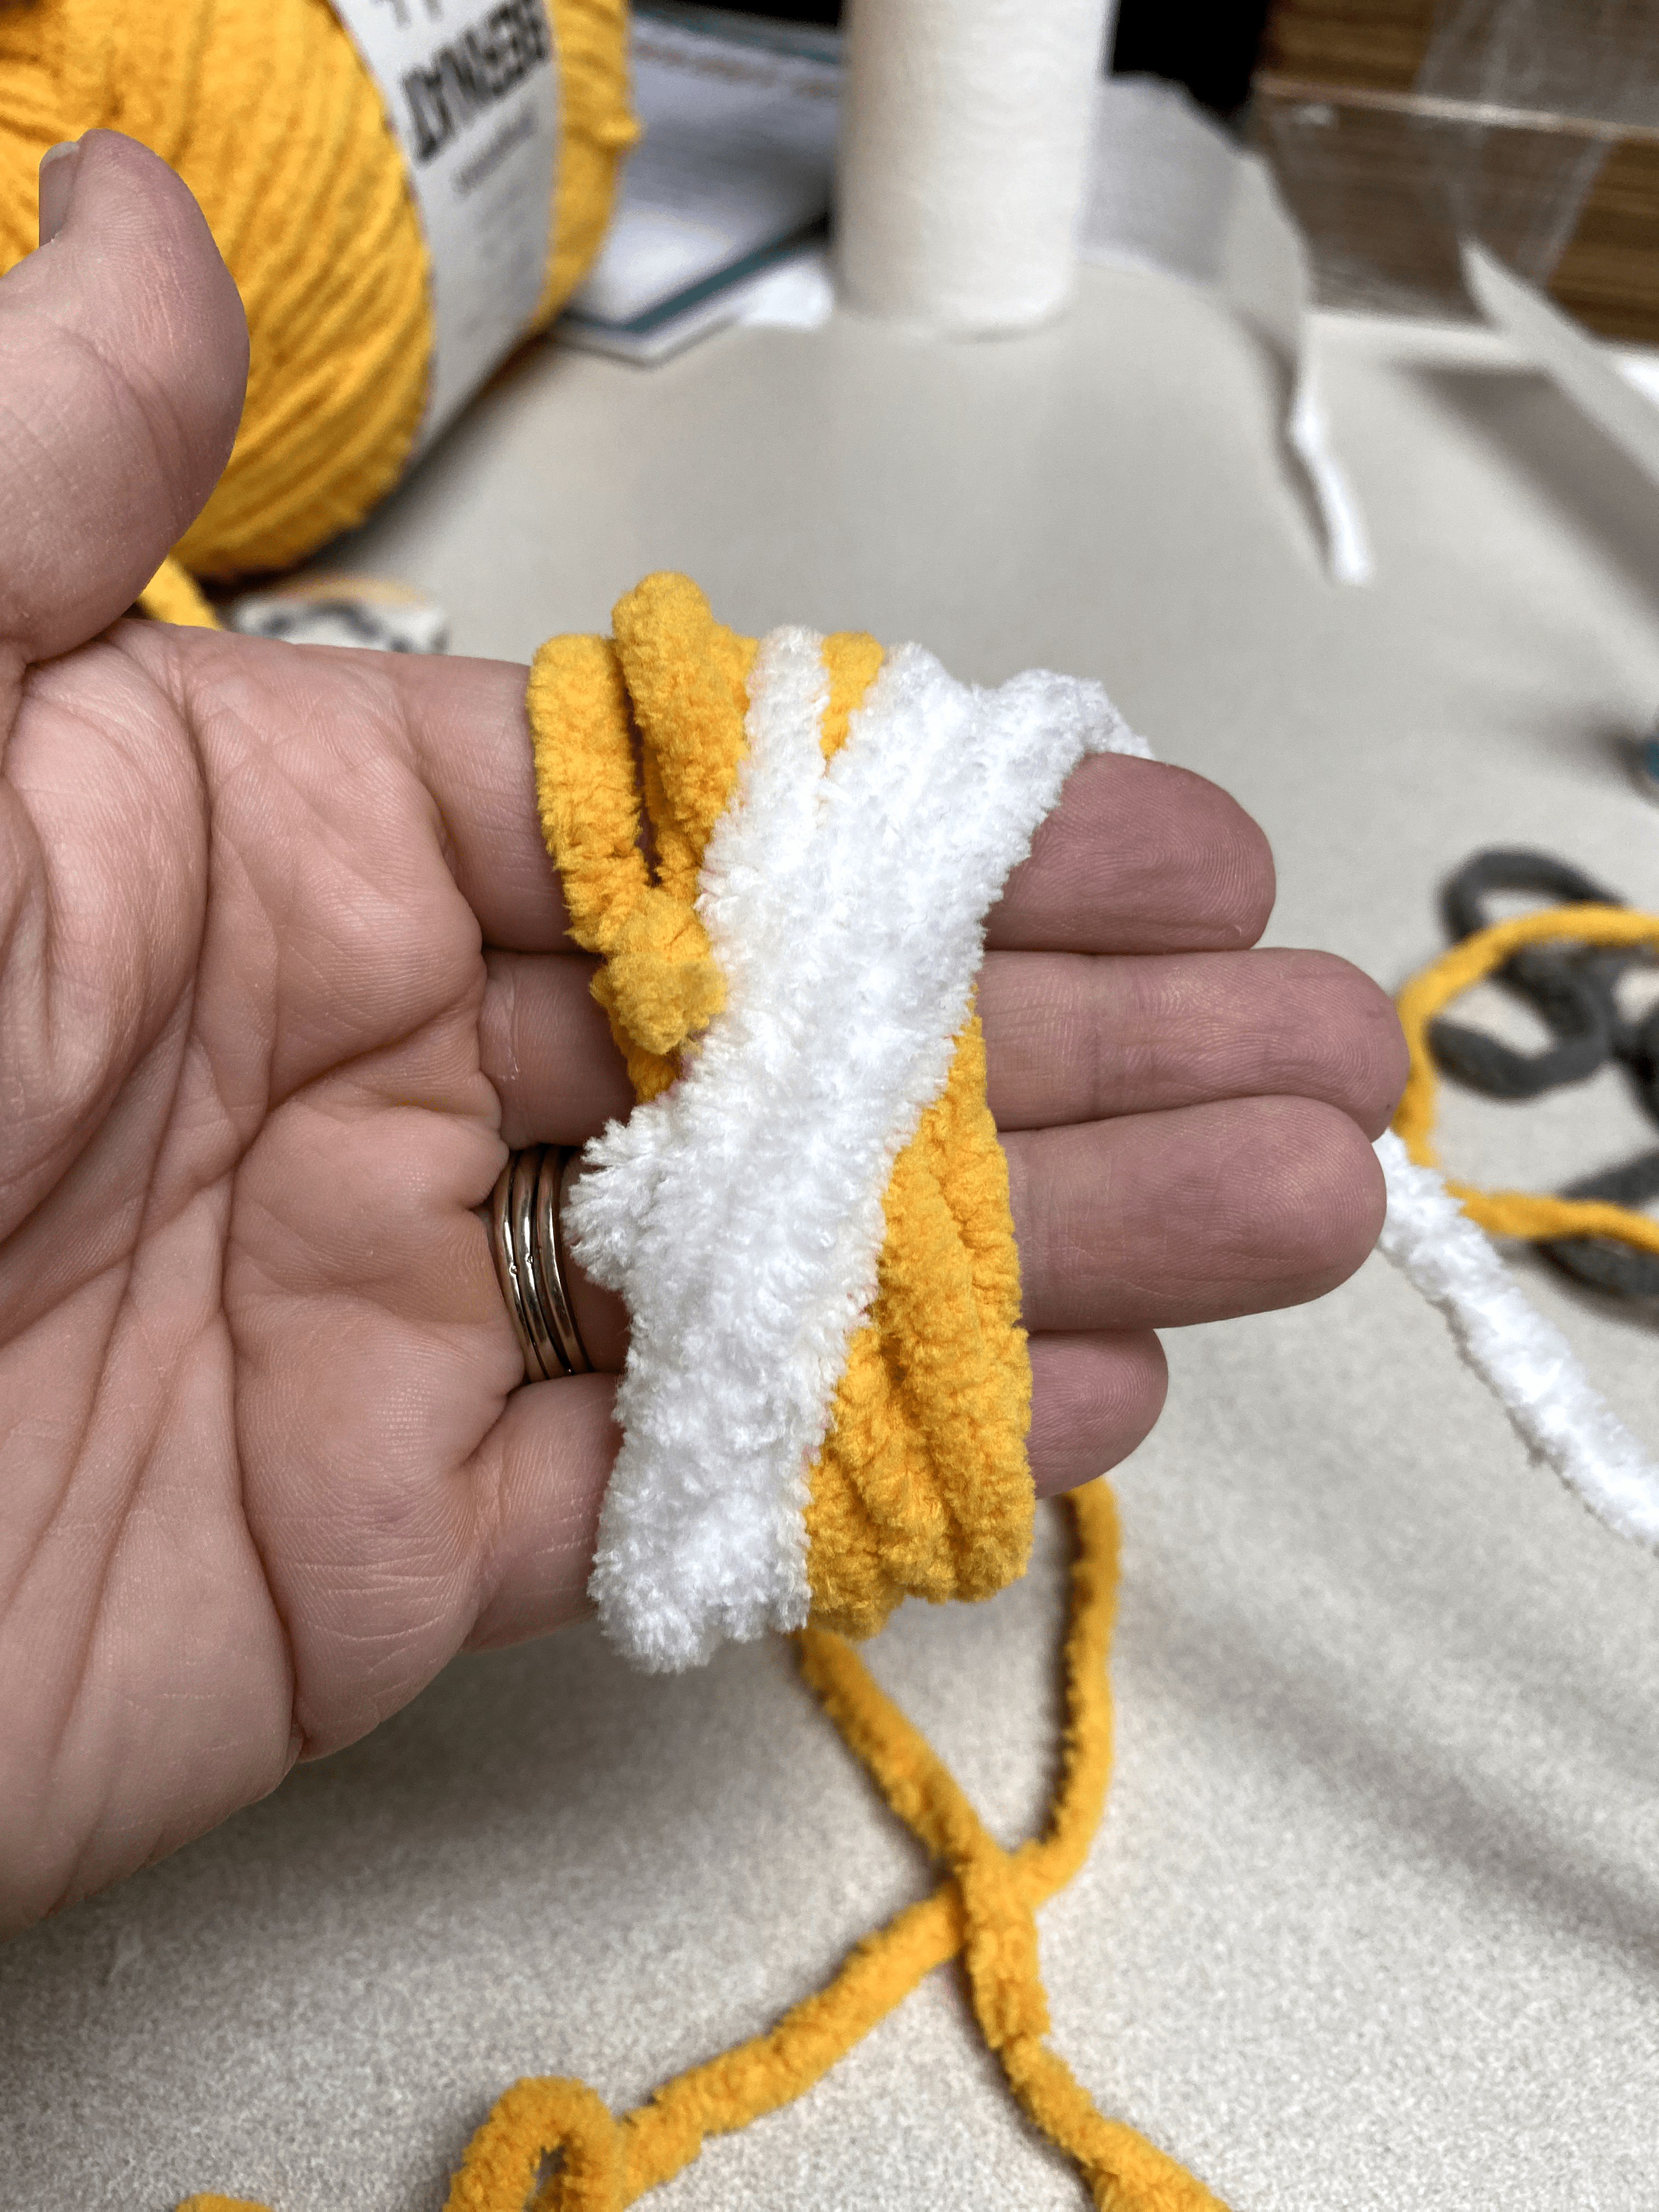
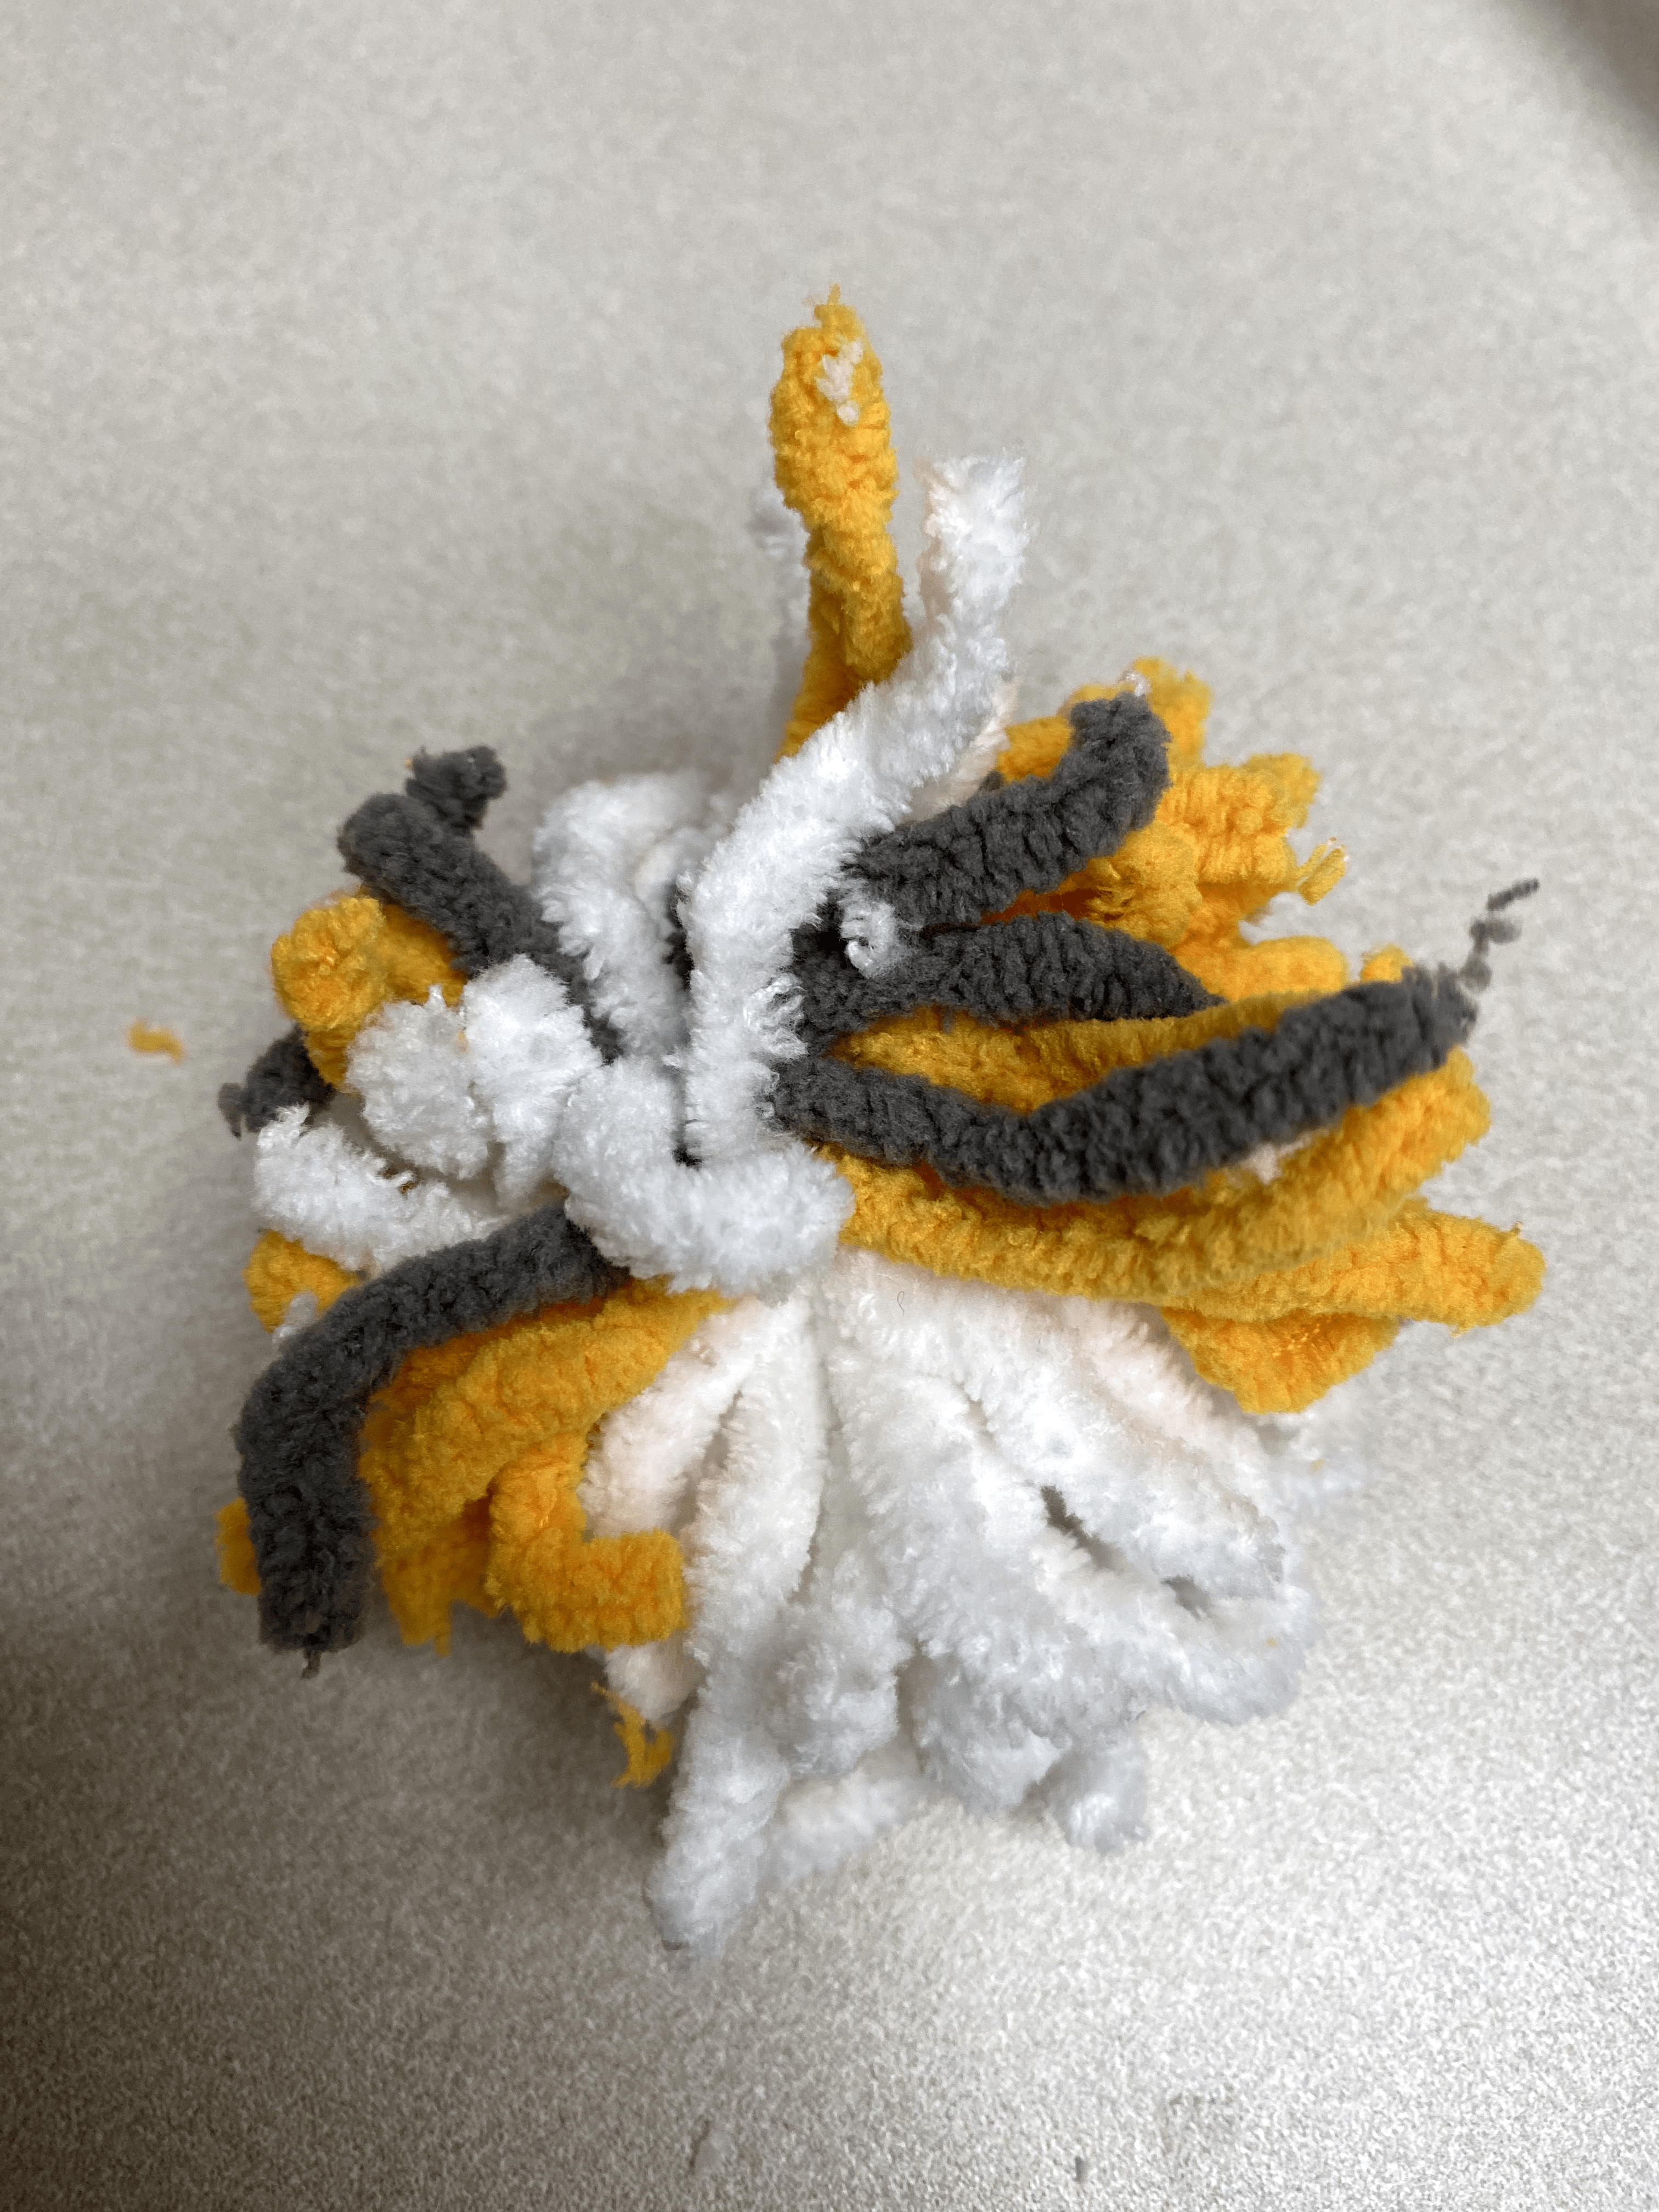
4. Make the ball. Wrap the white and yellow yarn around your fingers (see picture). Make sure to keep TWO small pieces for later. I had a little scrap of gray left, so I used that too. Here's a good tutorial for making poms: https://www.youtube.com/watch?v=daJyhdIEJ1s
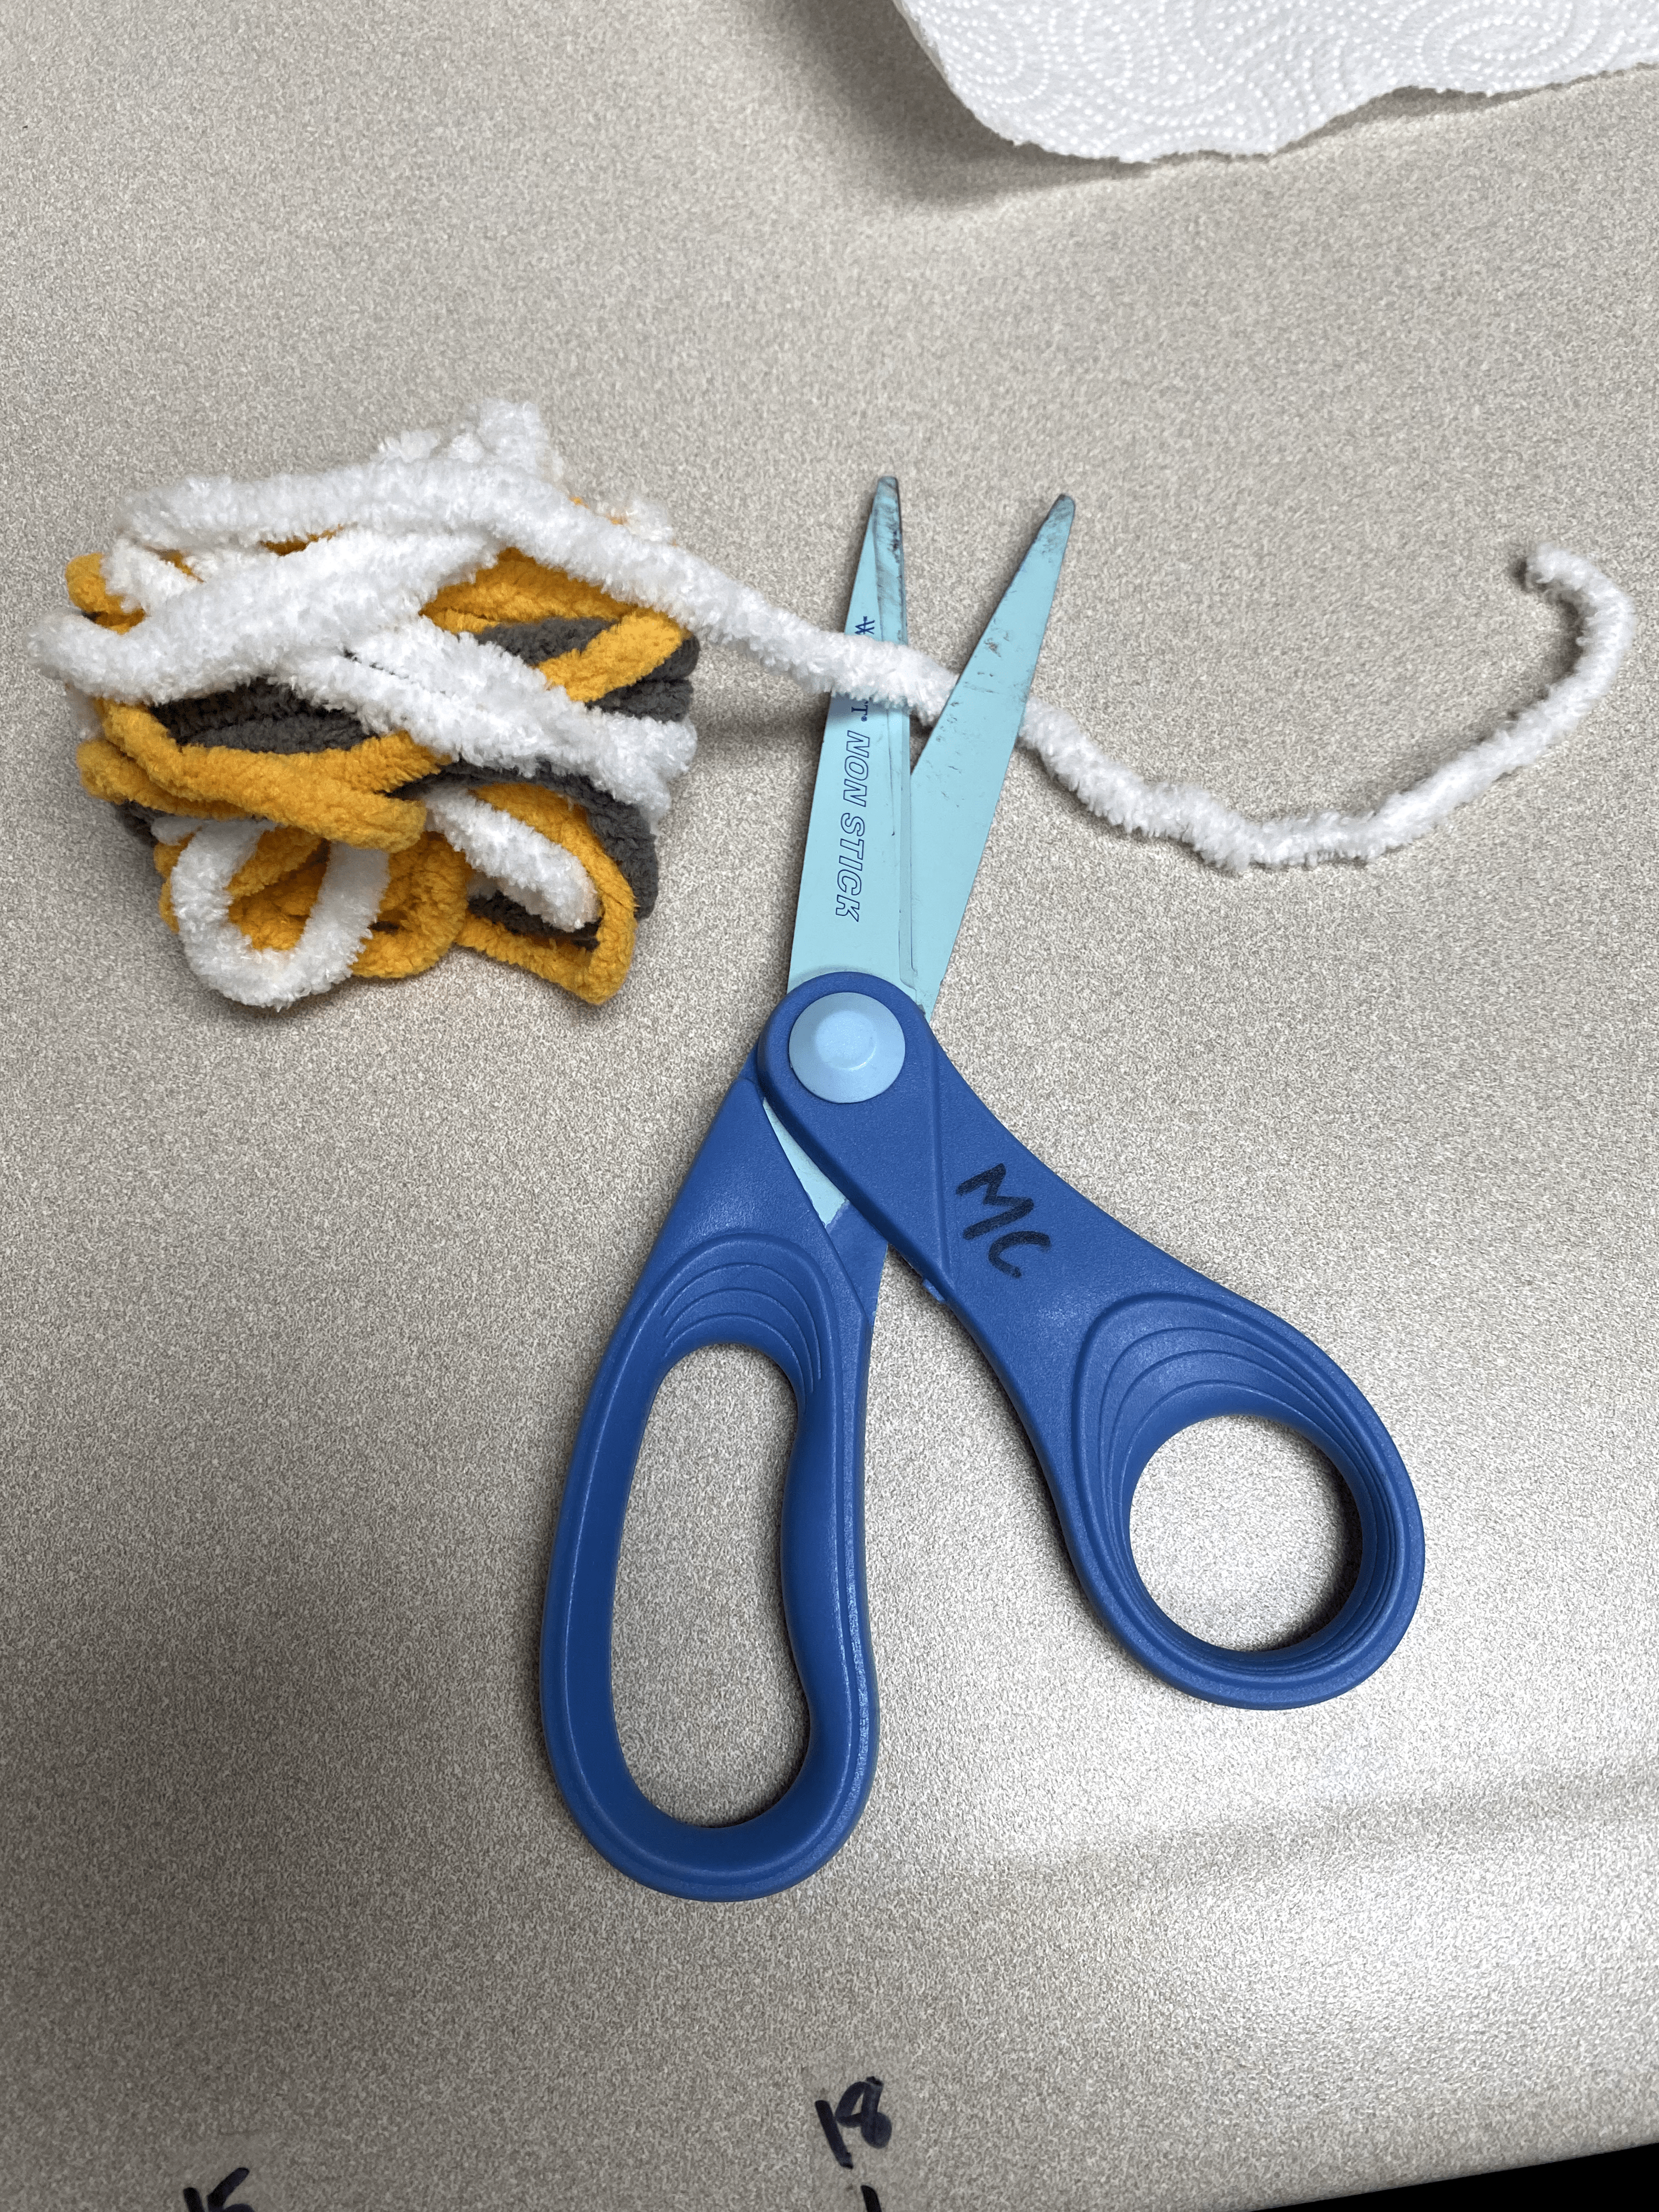
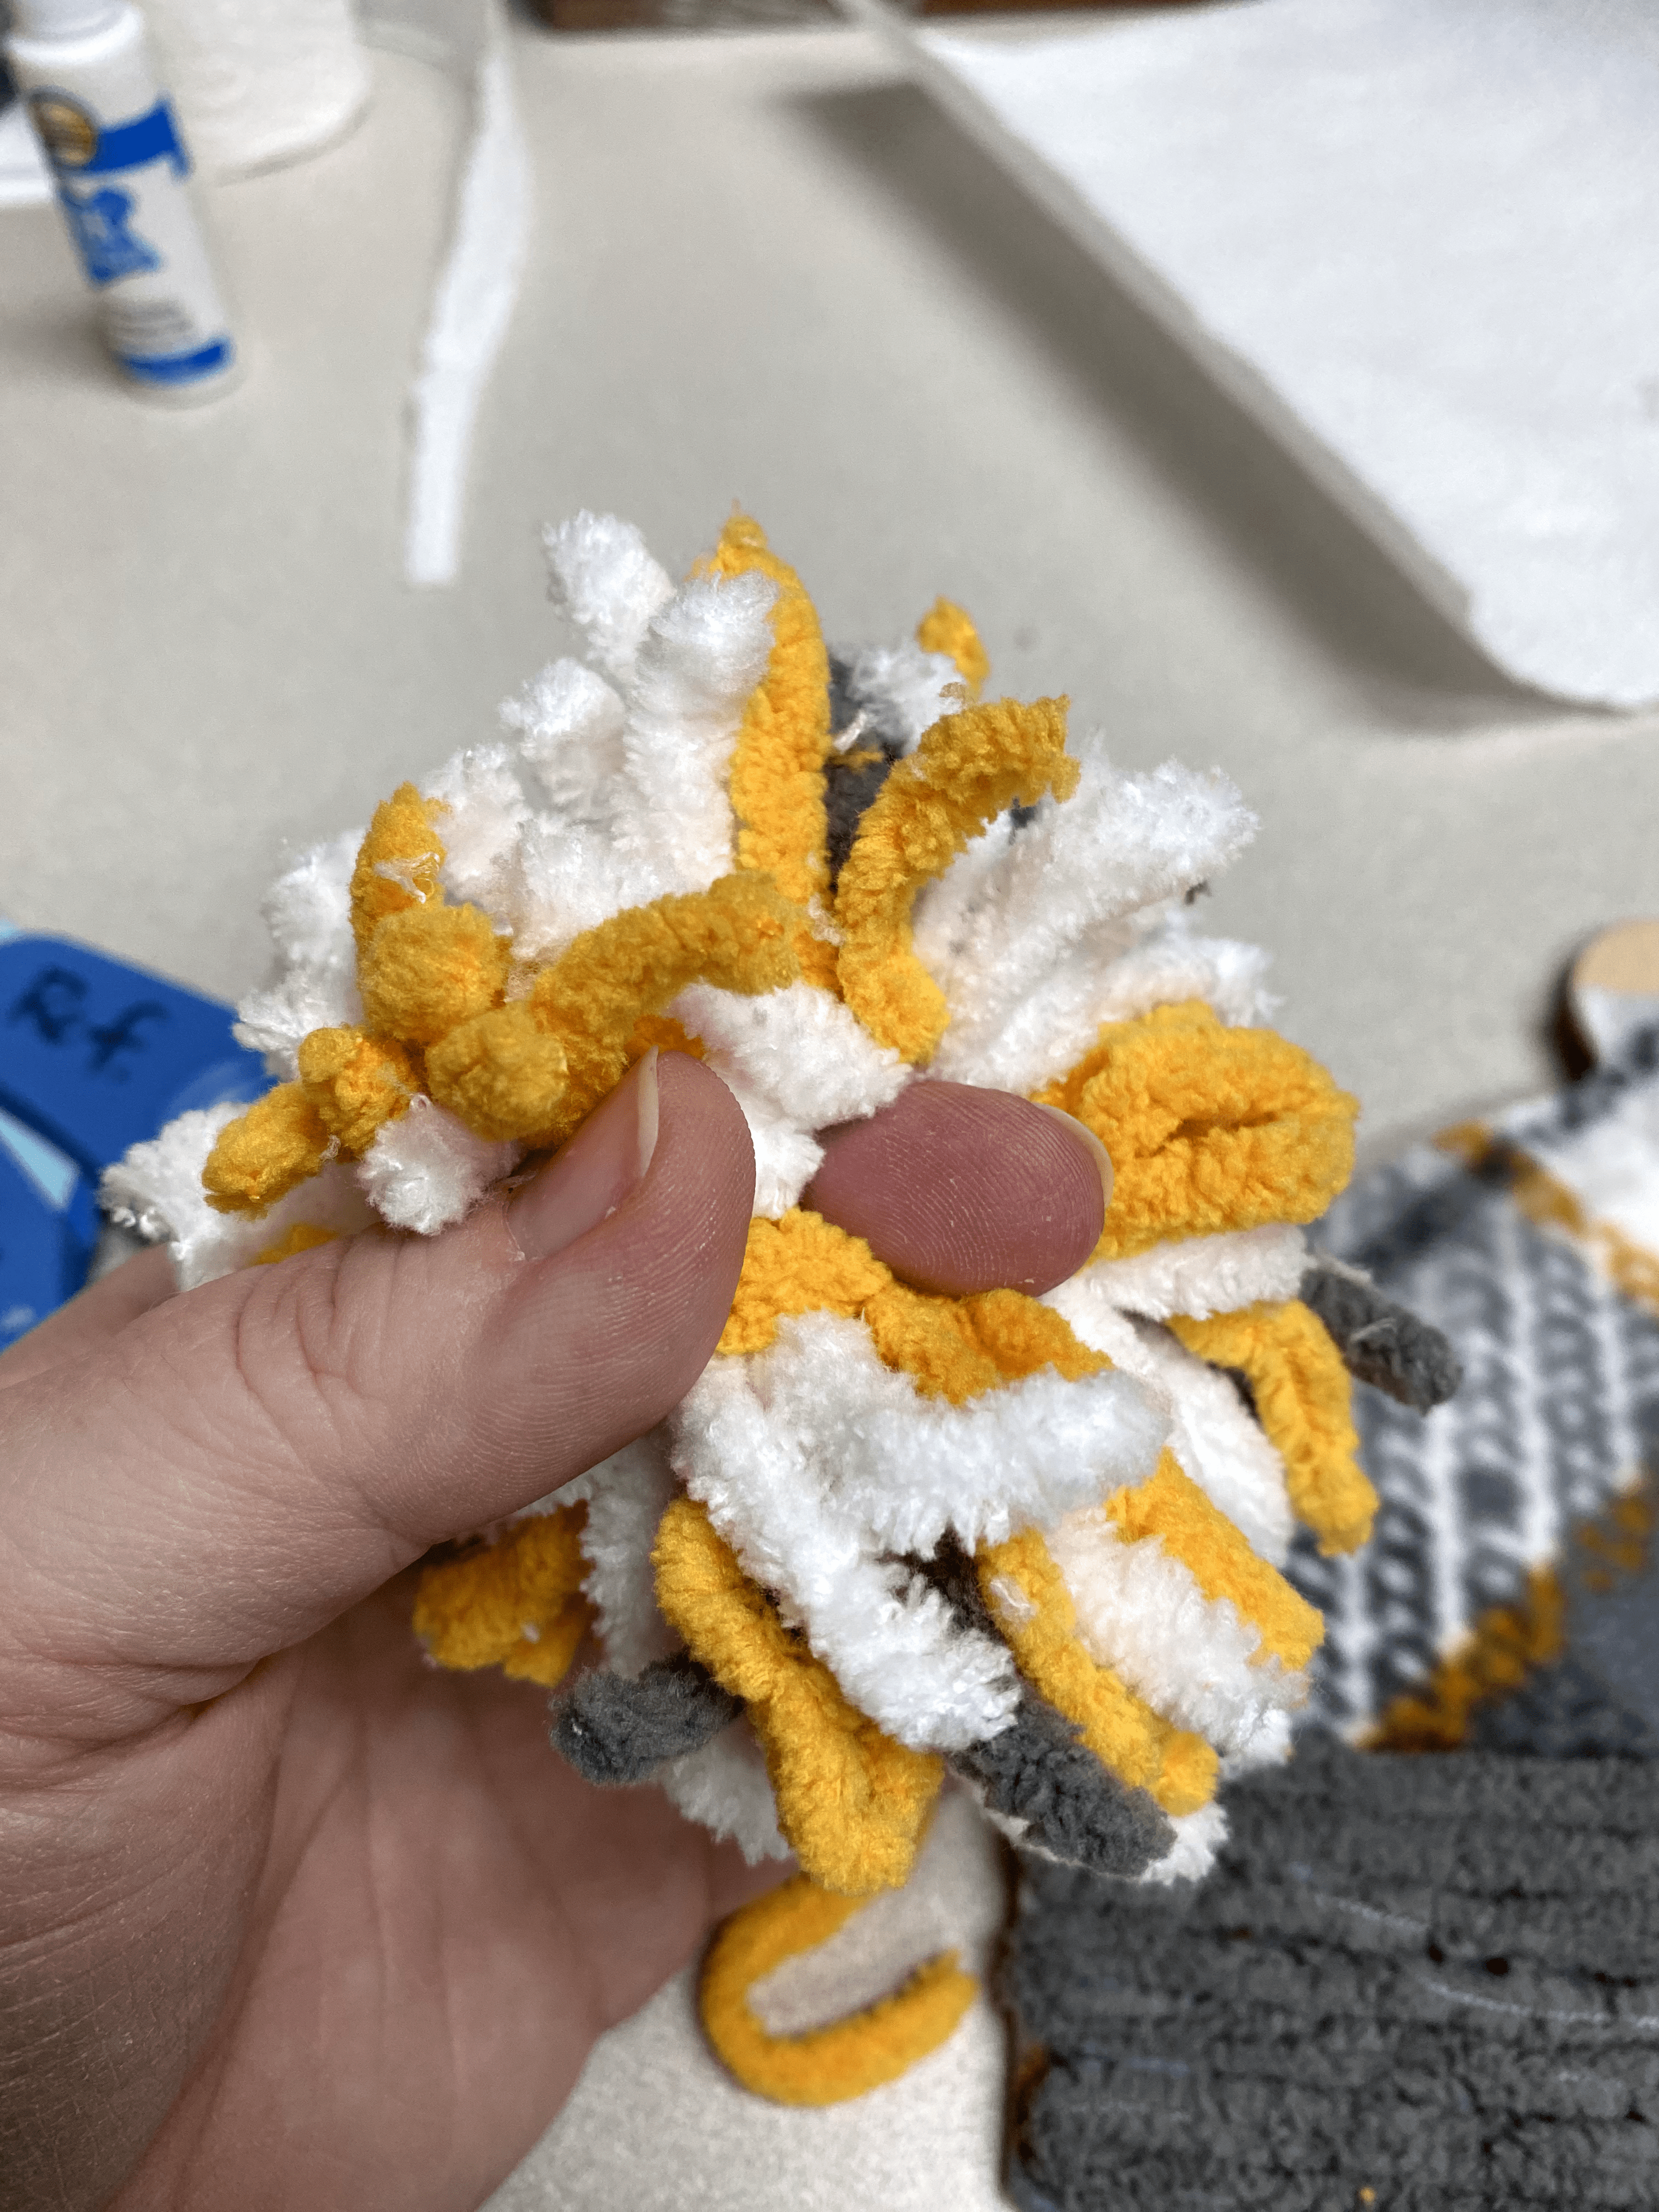
5. Carefully remove the yarn from your hand and tie a piece of yarn around the center. Then, cut the loops. You will need to trim the excess off to make the ball uniform looking.
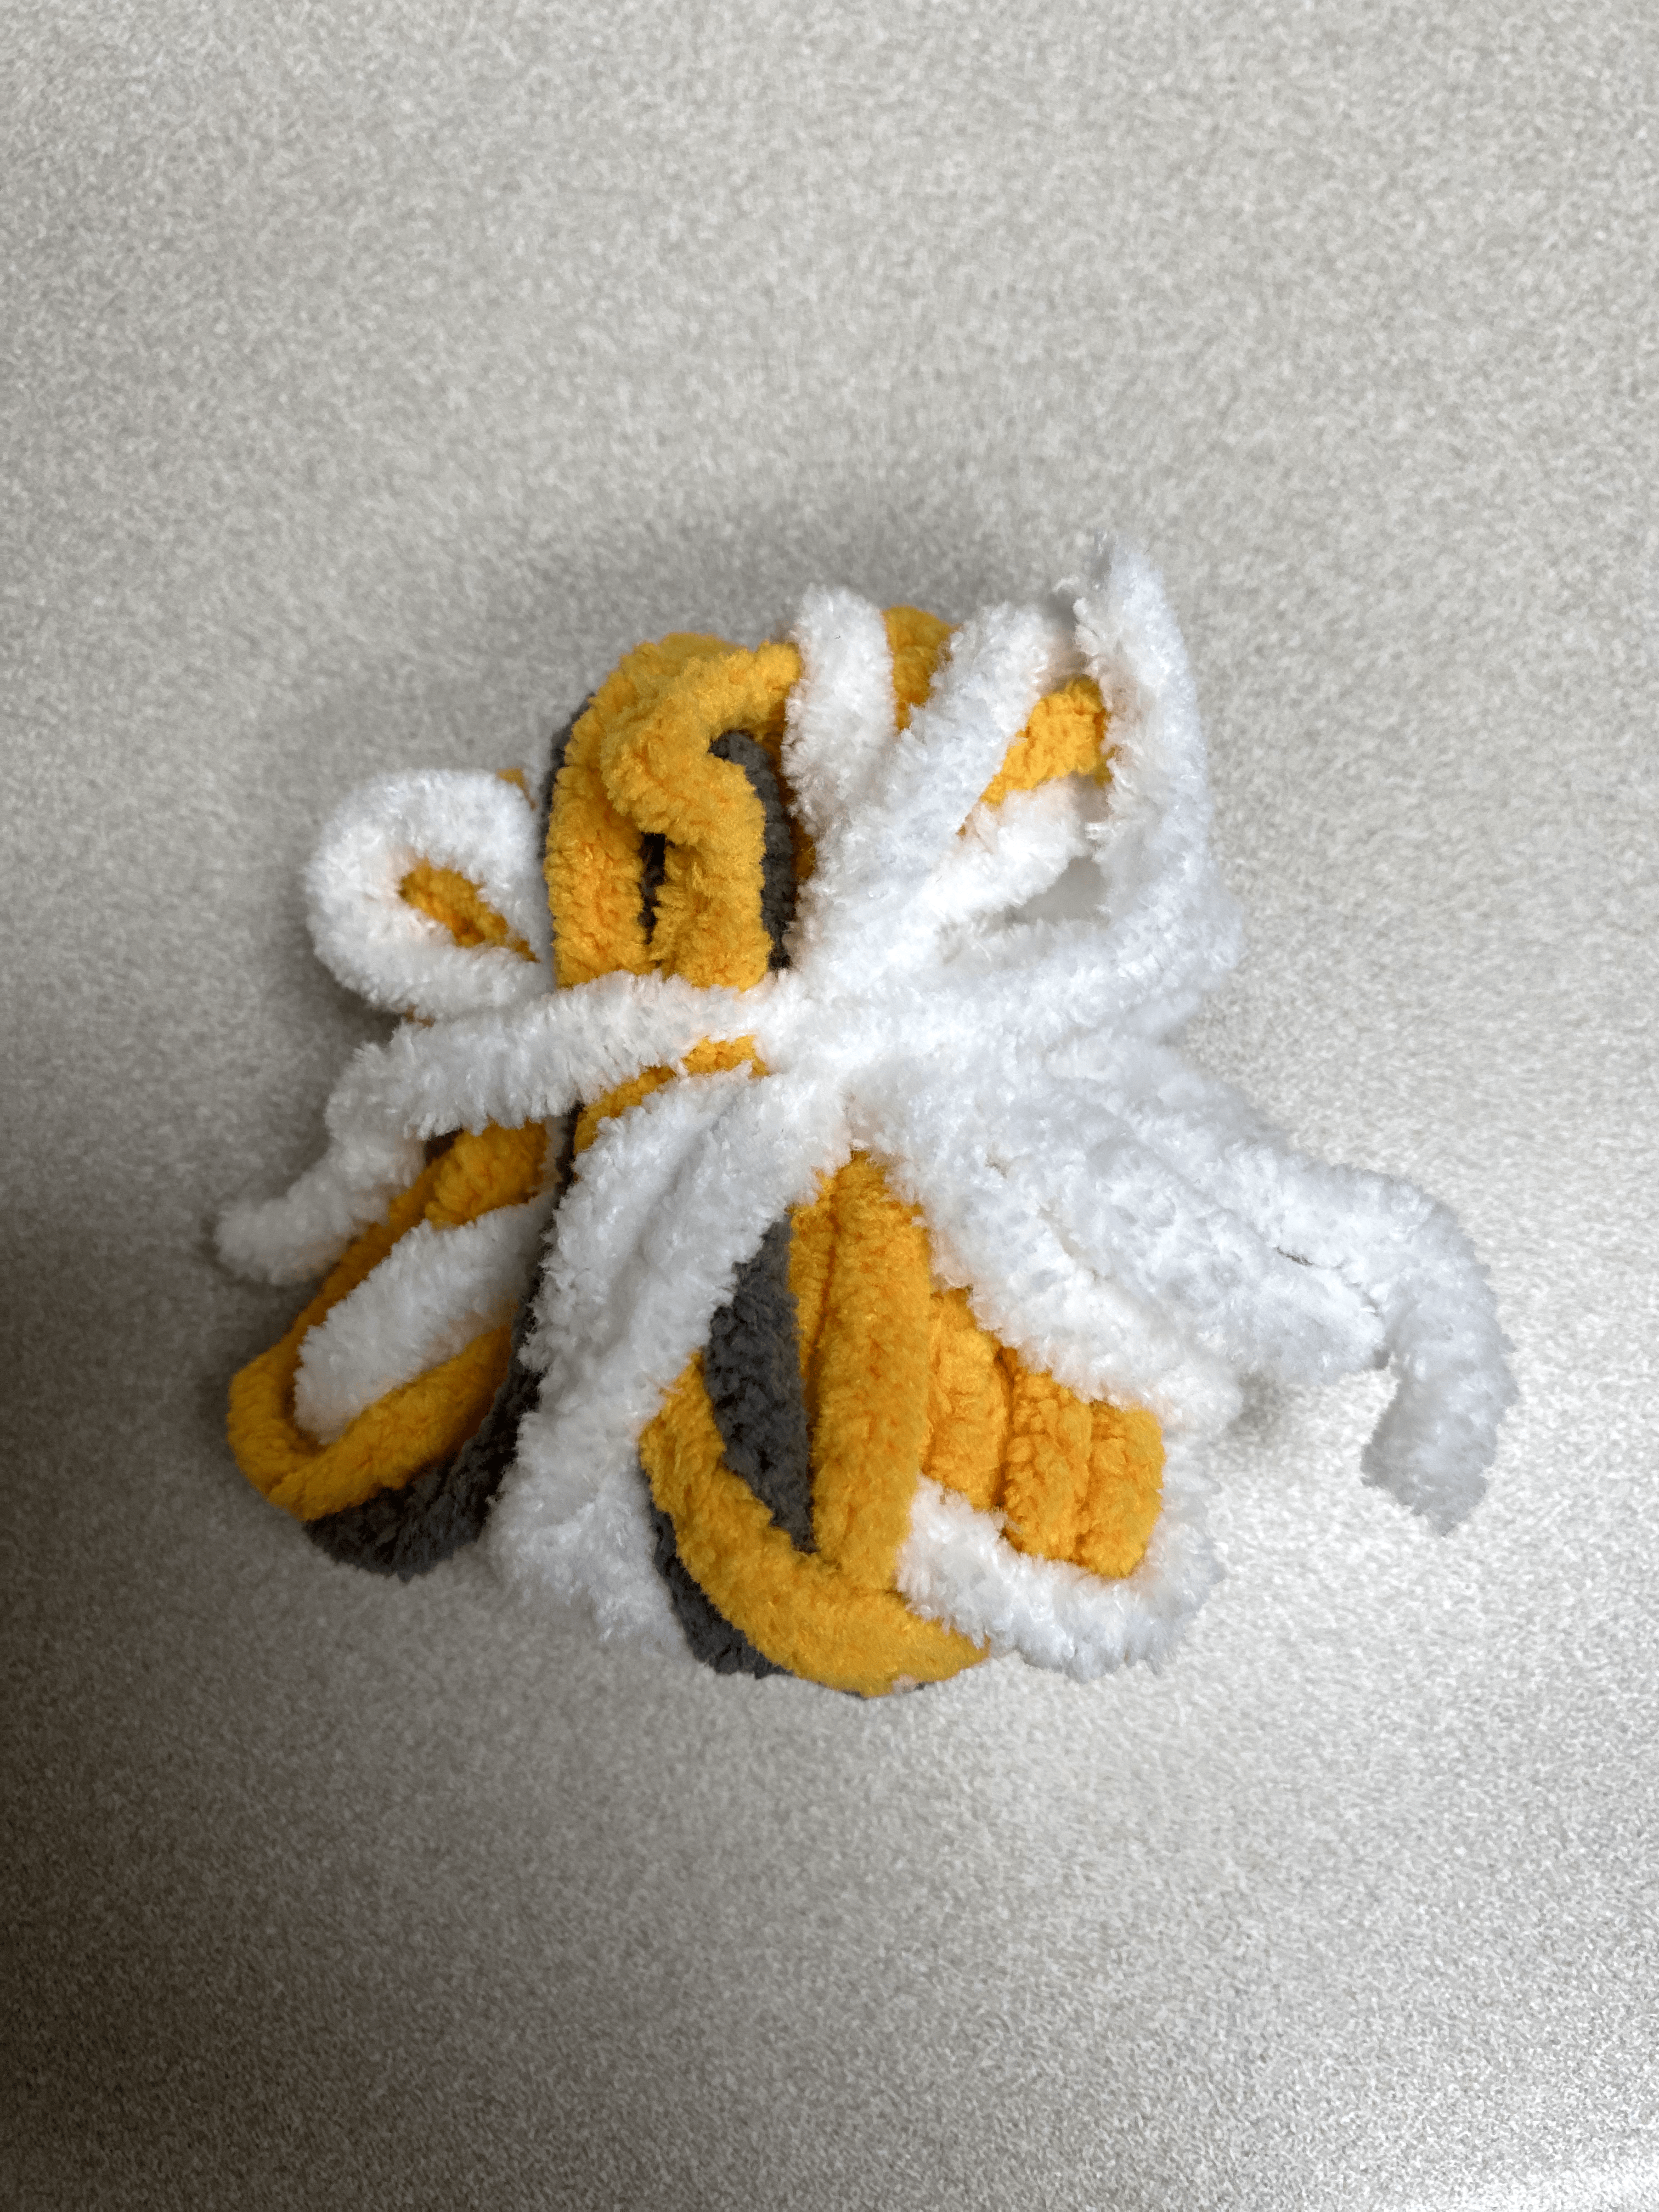
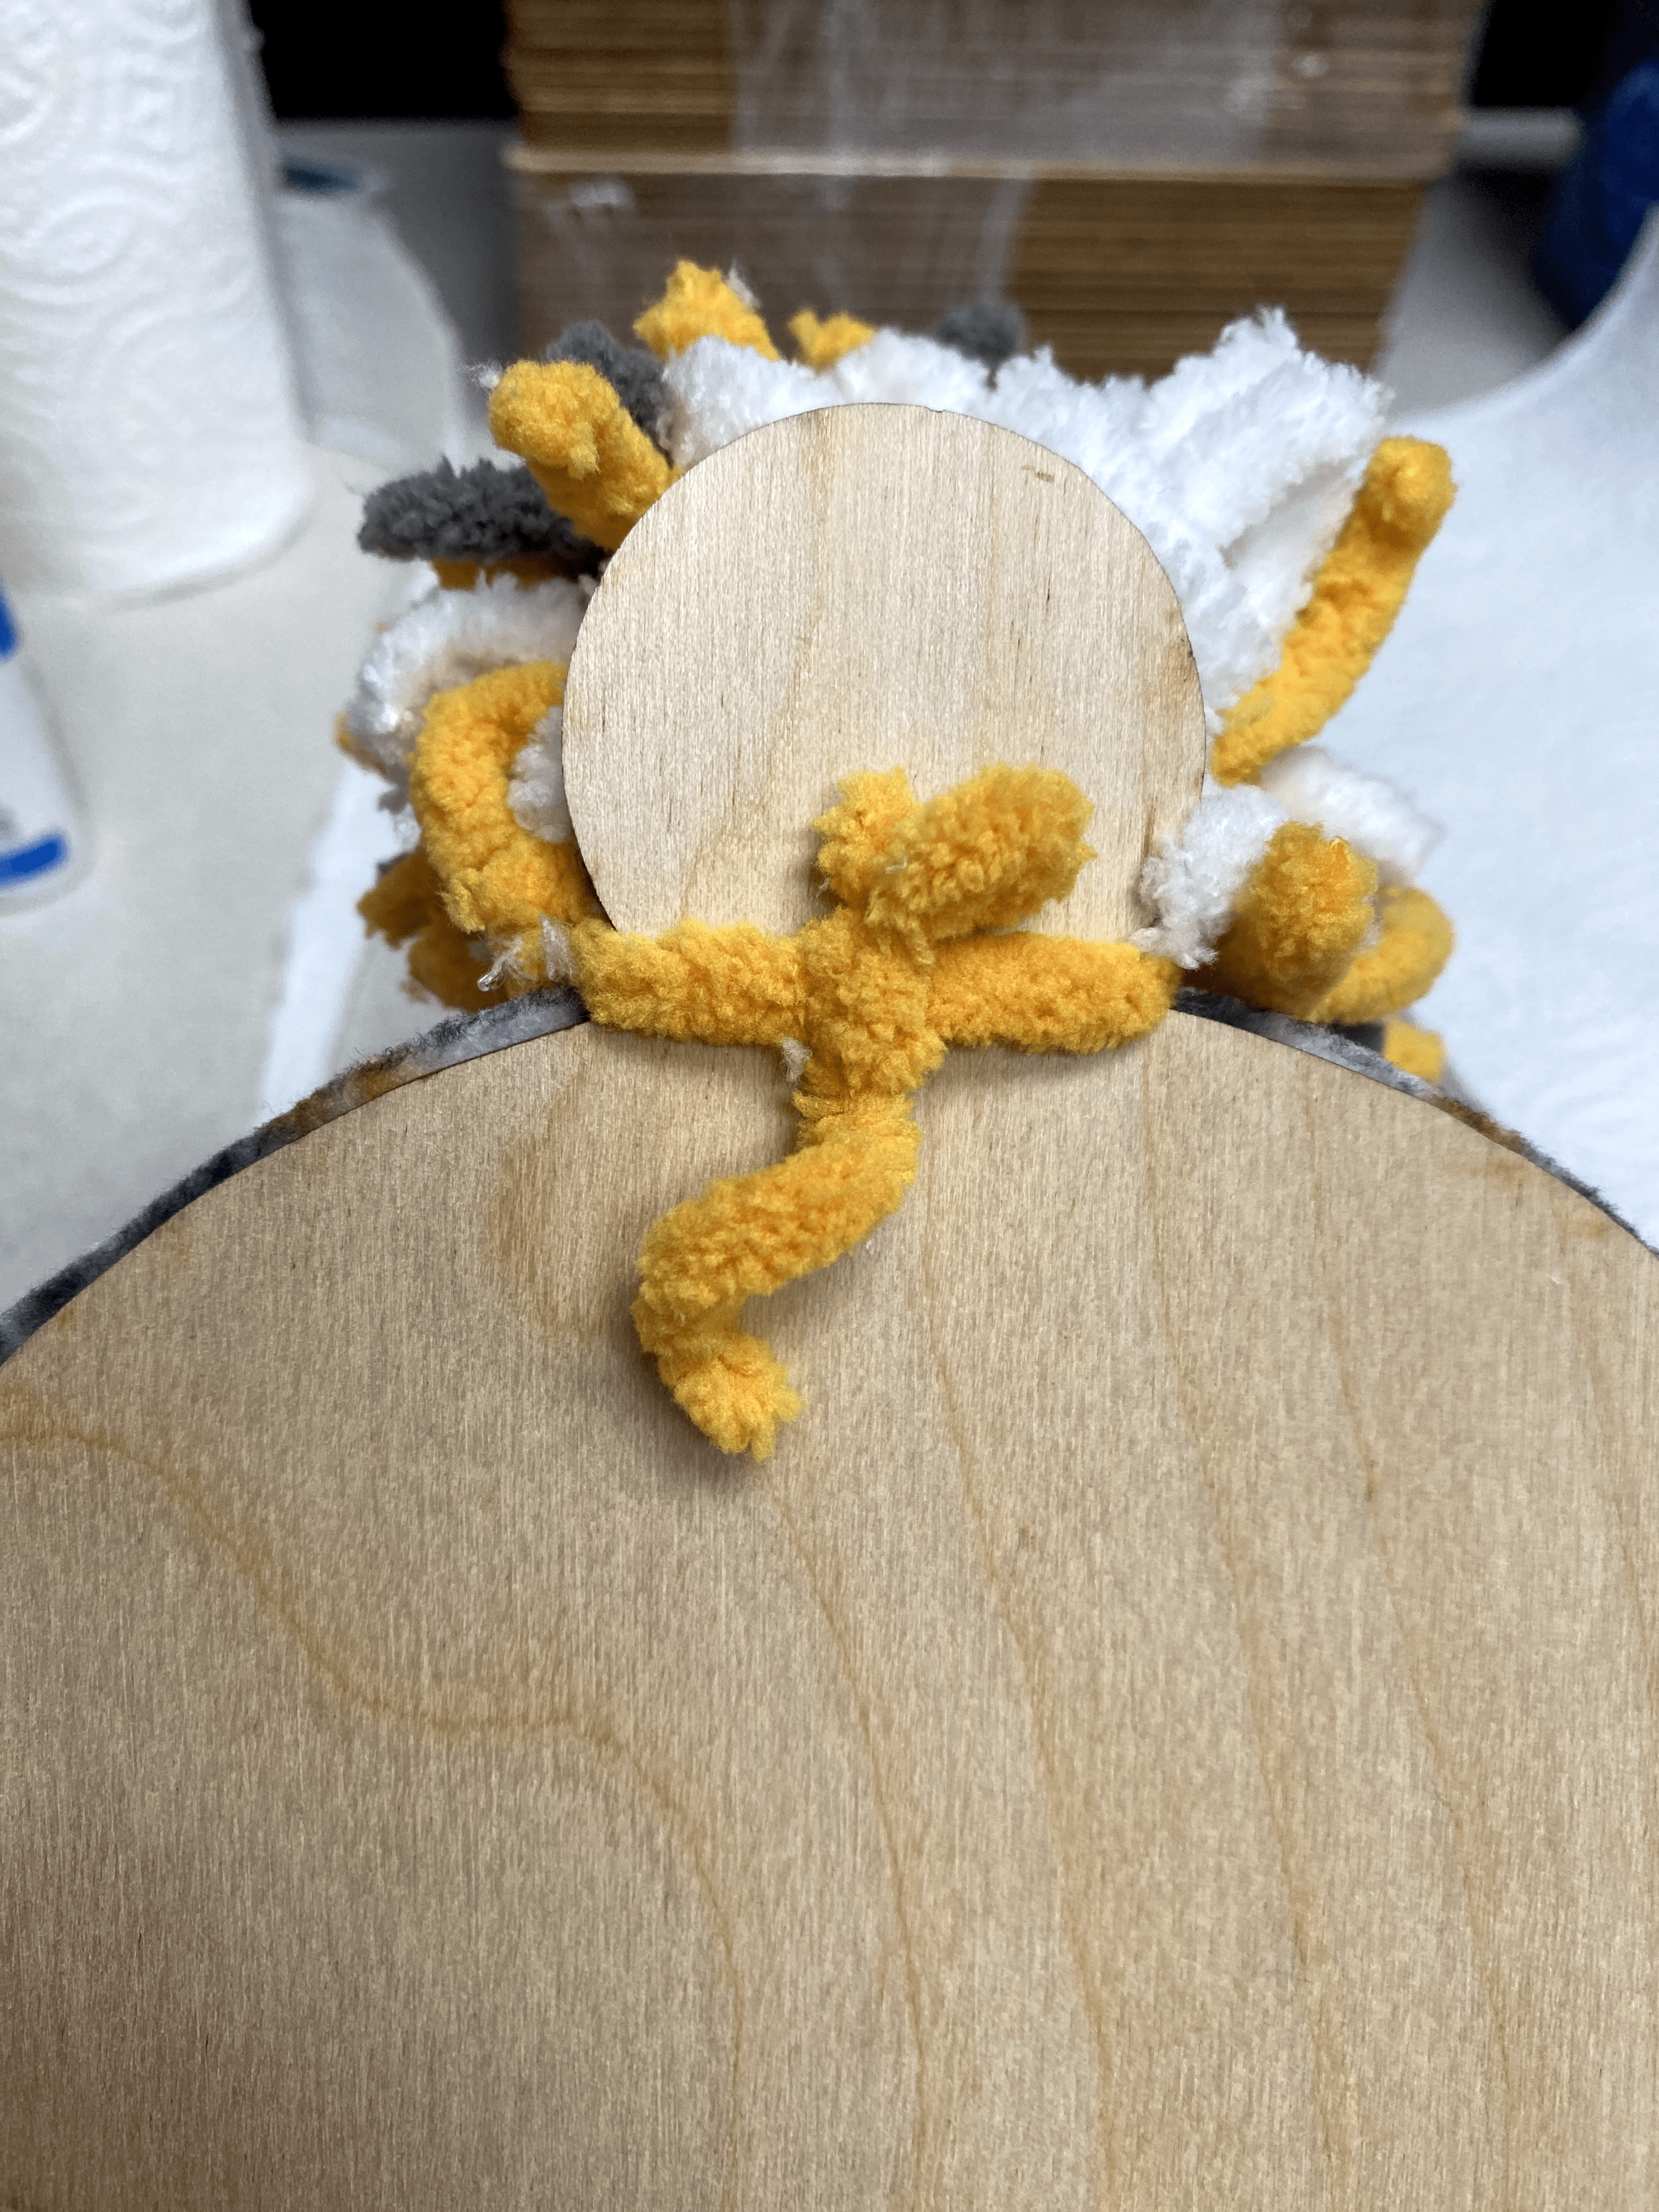
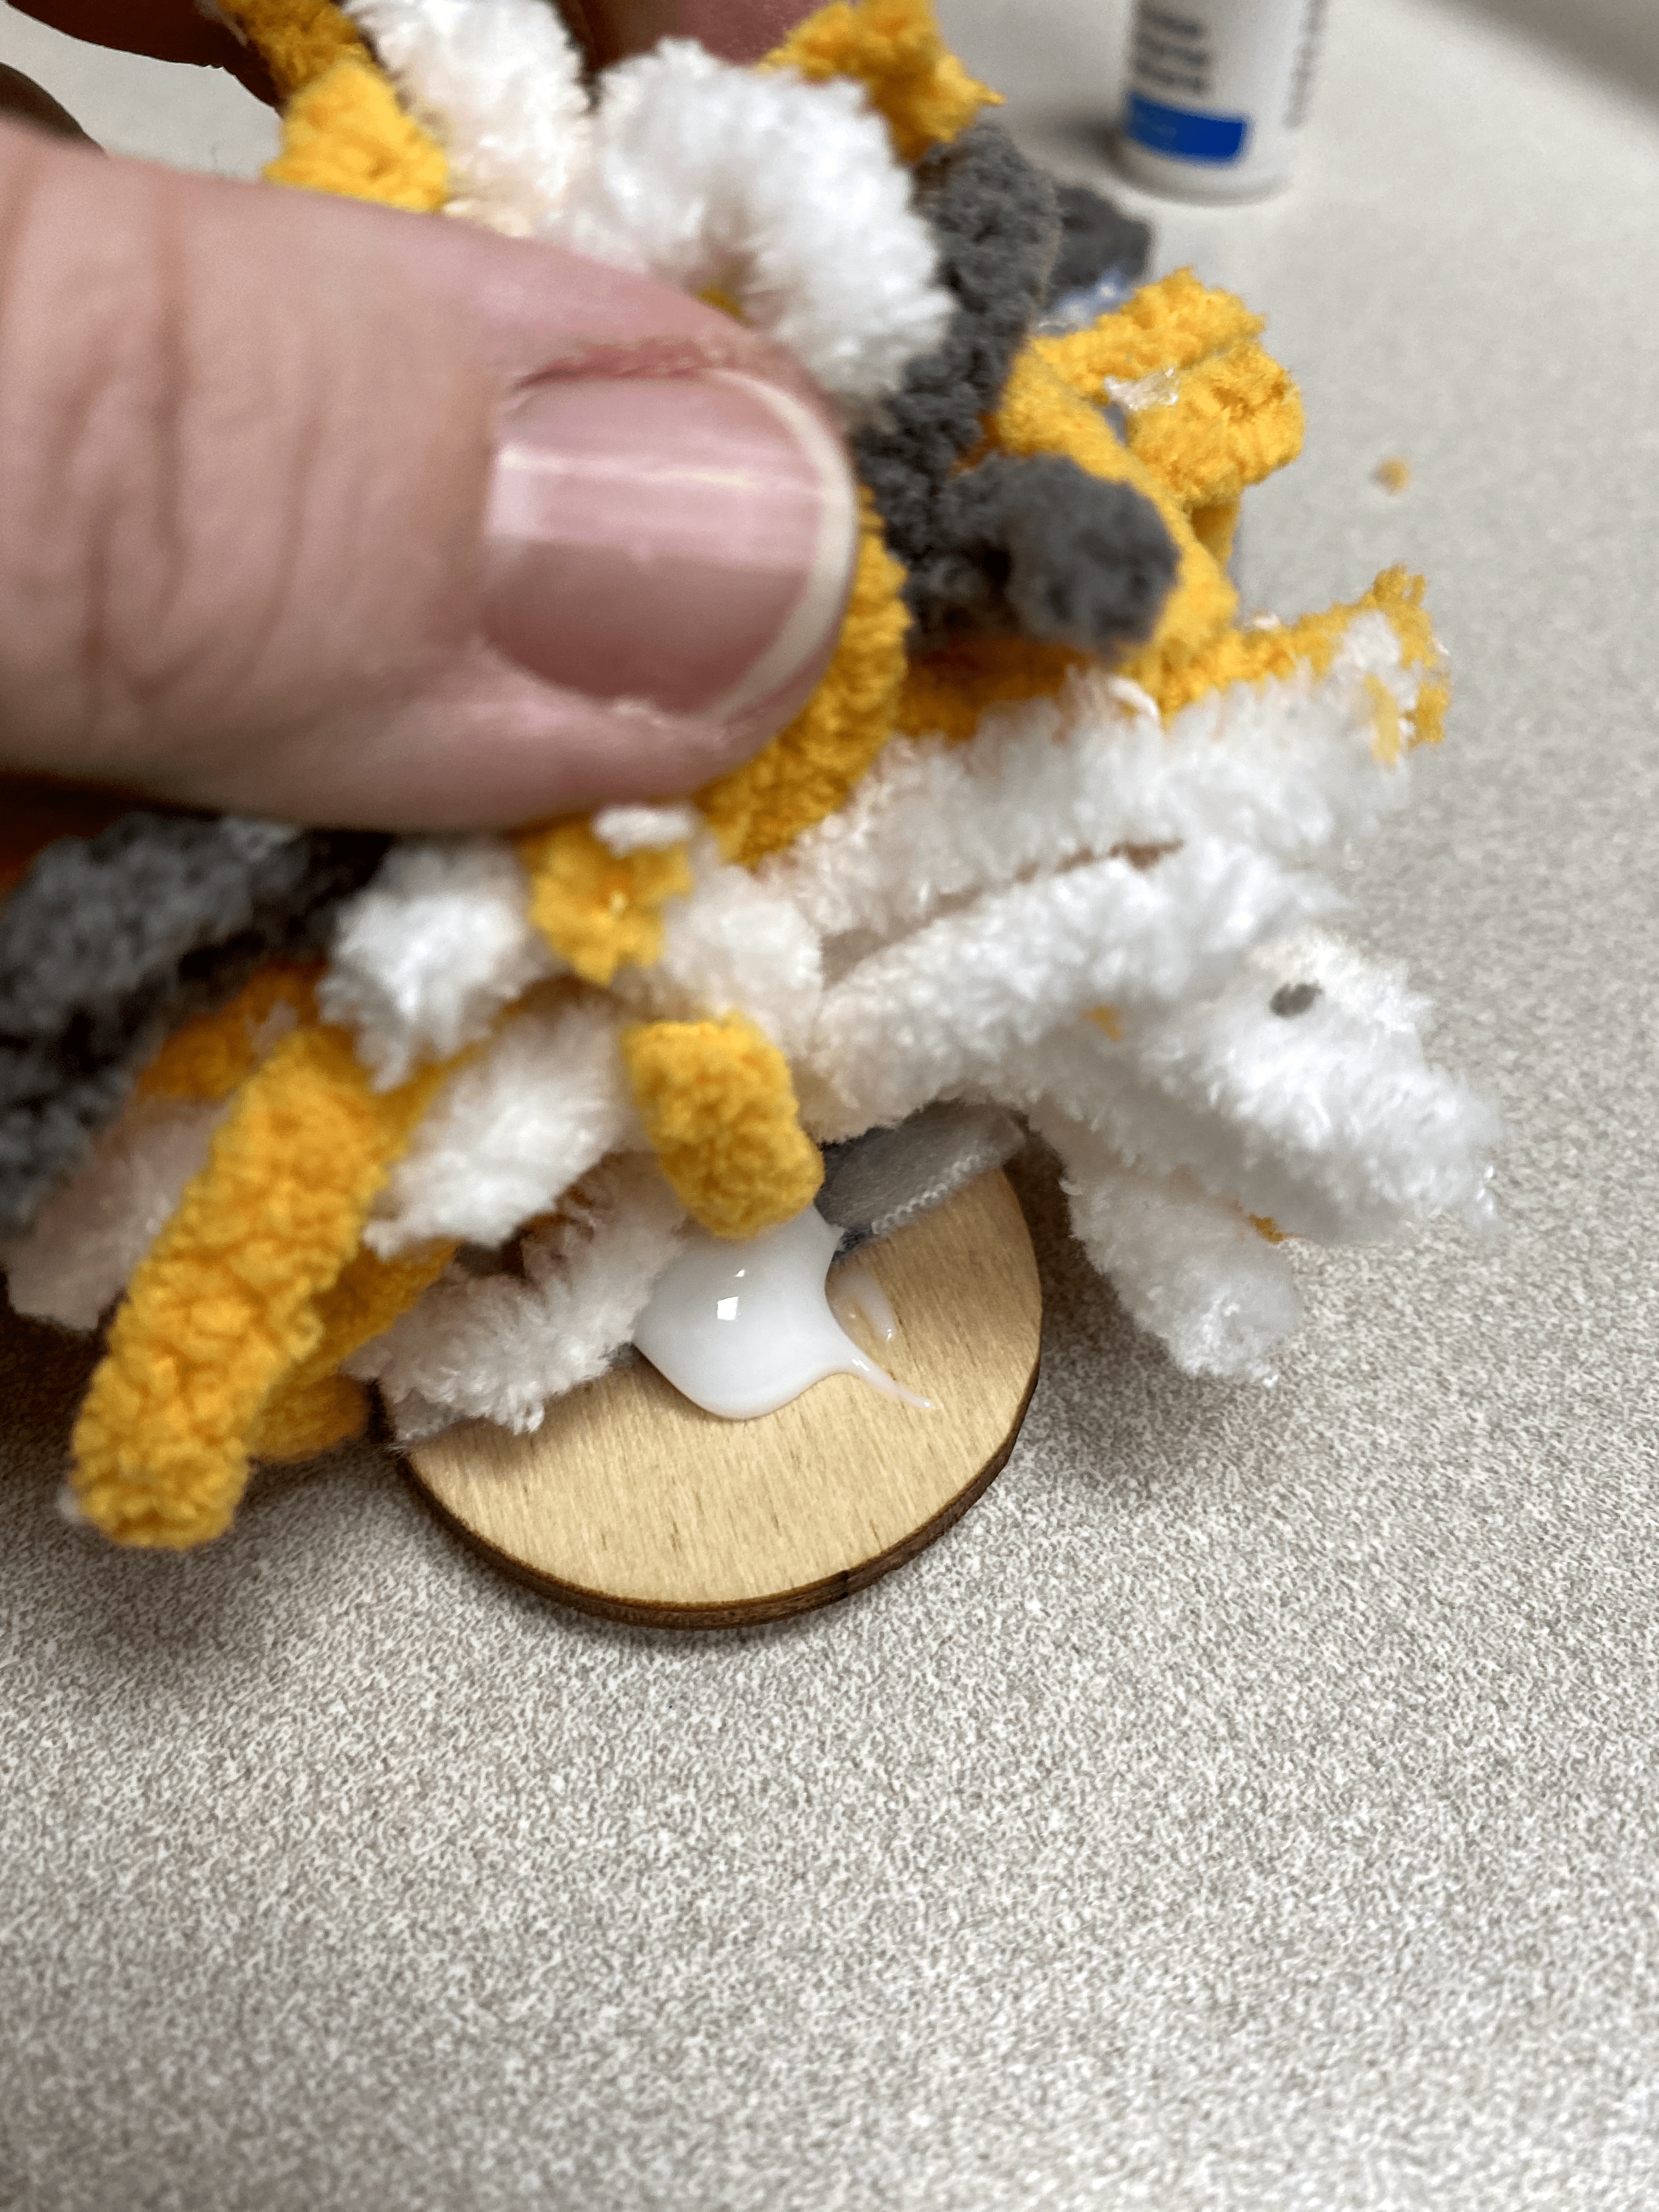
6. To attach the ball to the top, put your finger through the center hole of the ball. Insert your second piece of scrap yarn through it. Tie that piece around the top of the hat and tie in a knot at the back. I also used a little glue to secure it to the wood.
7. Fold the cardboard stand, peel off the backing and stick to the bottom of the hat.
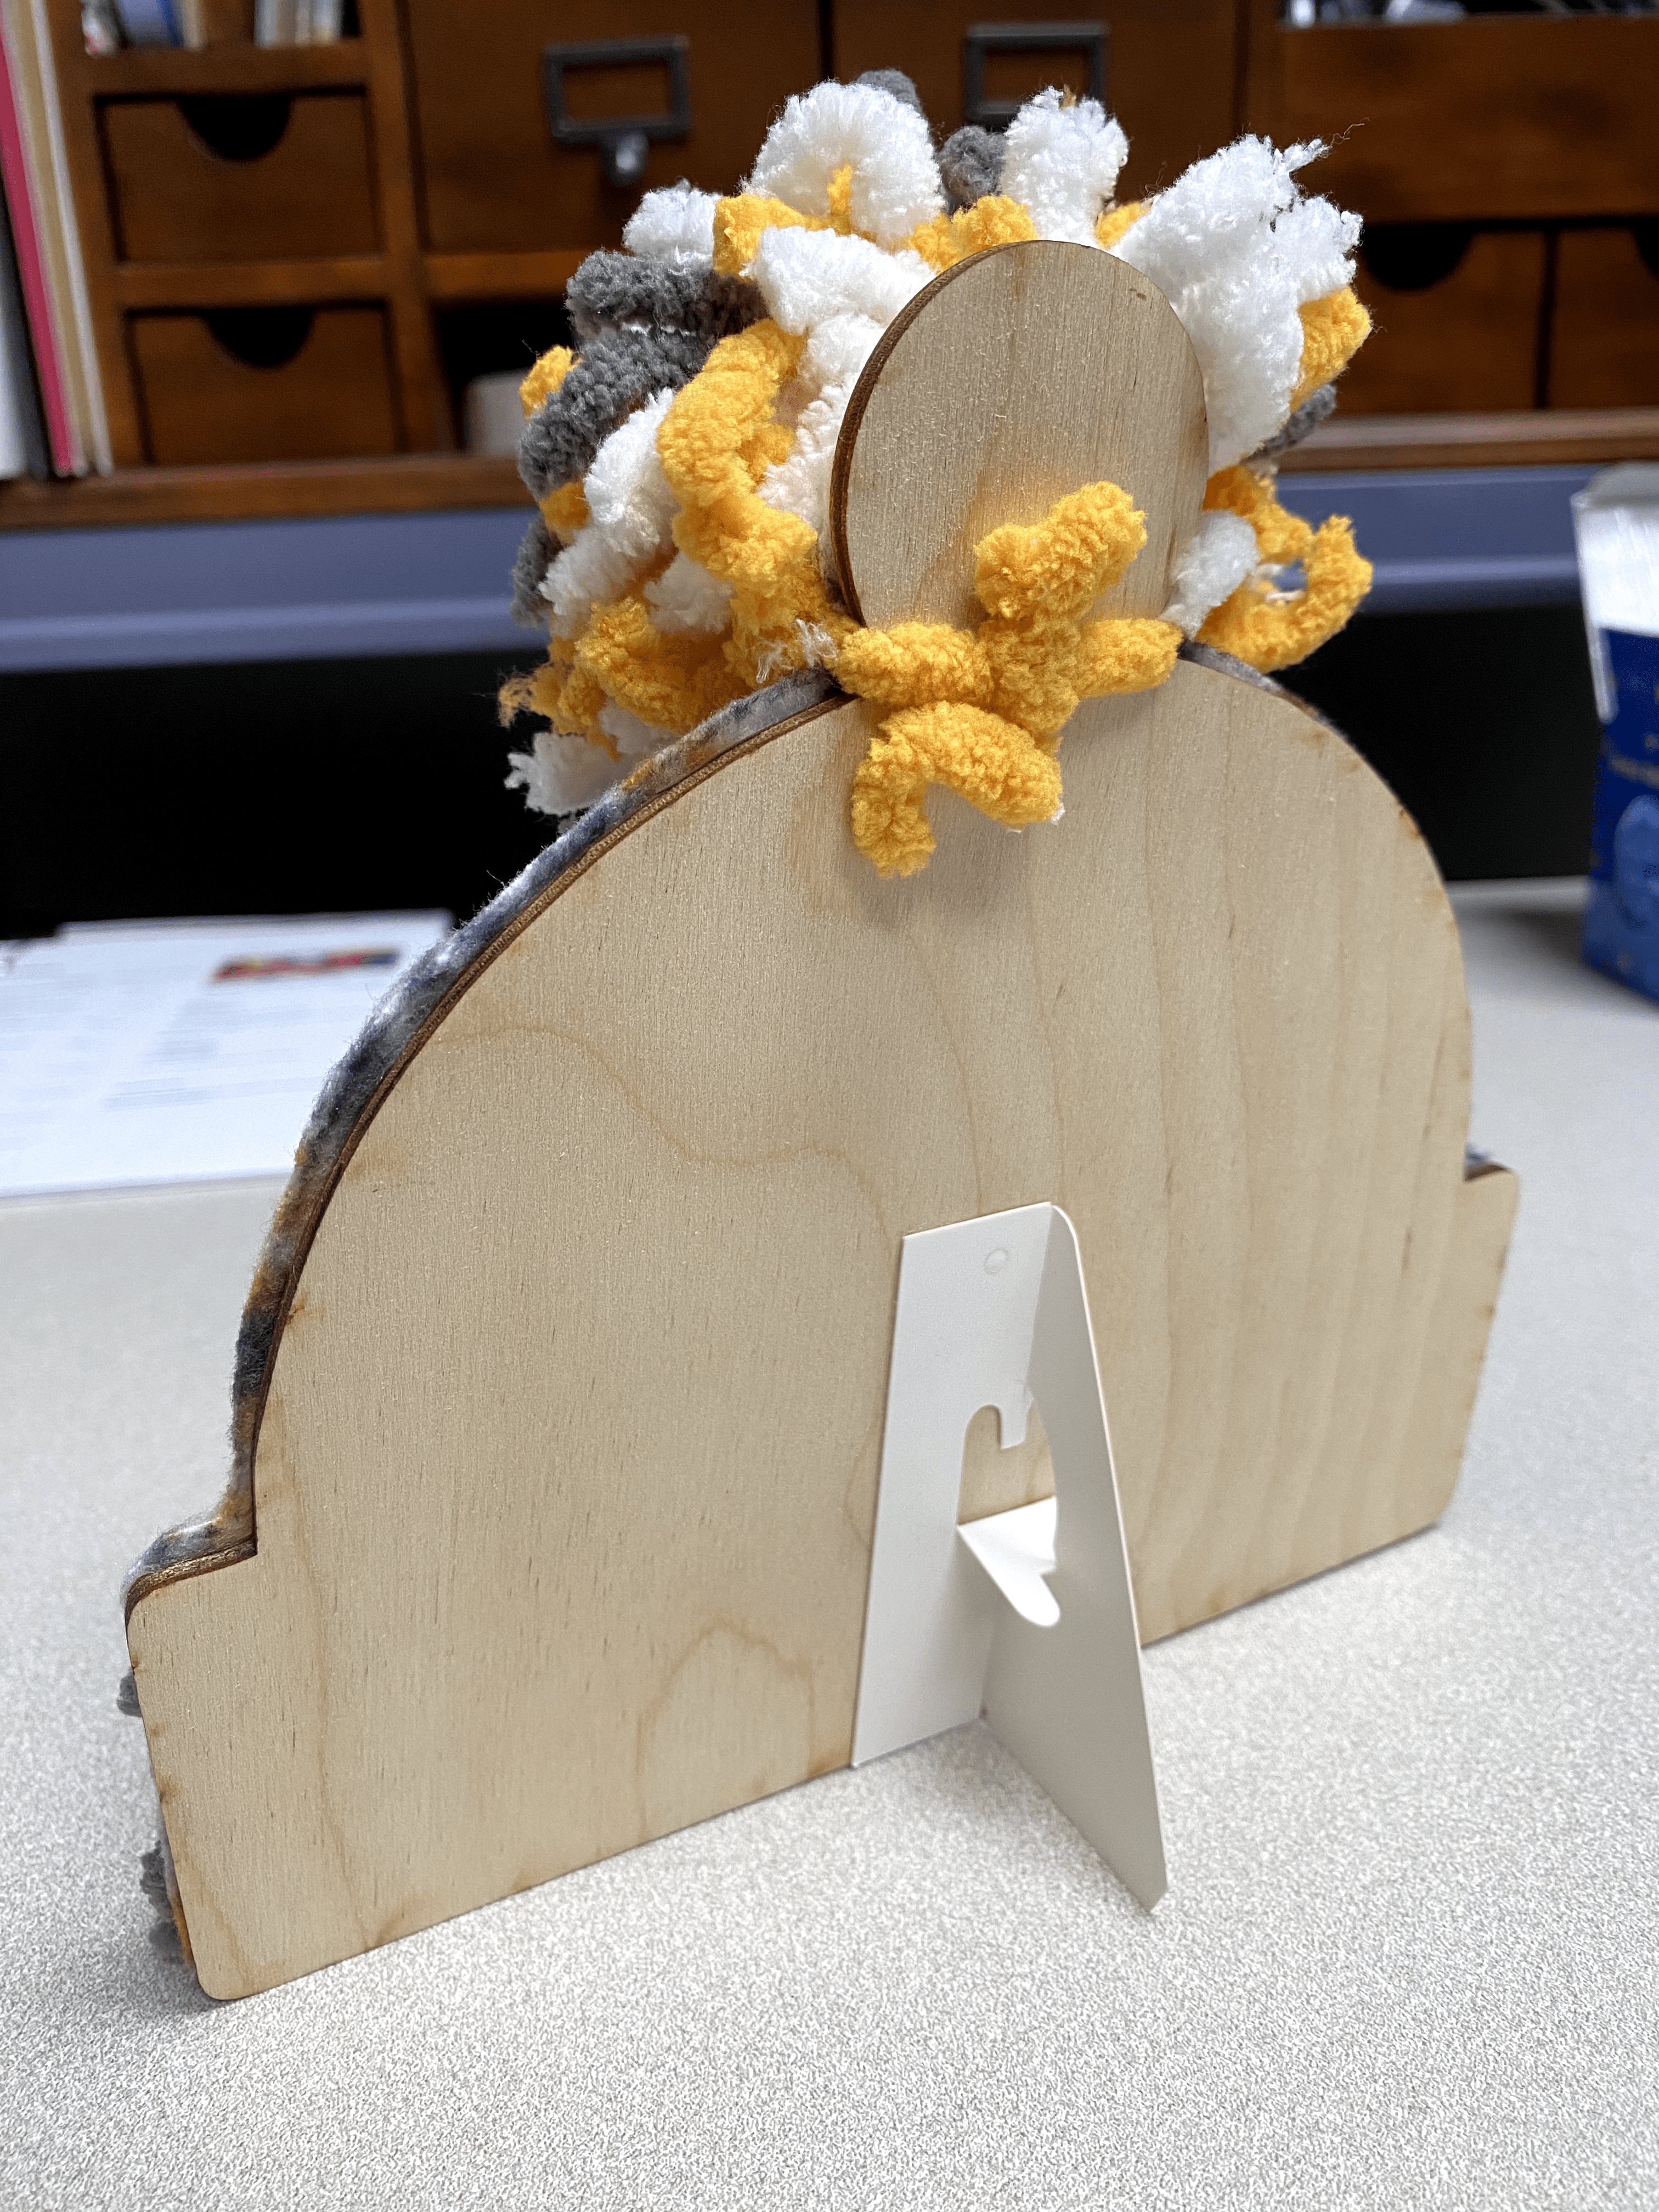
8. Put it somewhere cute!


Add a comment to: Beavercreek Adult Take-and-Make: Flannel hat decoration